Quickstart
Create an interview, start a live session, and review your results — in four steps.
Get up and running in four steps. Steps 1, 2, and 4 are the same everywhere — only starting a session (Step 3) differs by platform, so pick your tab there.
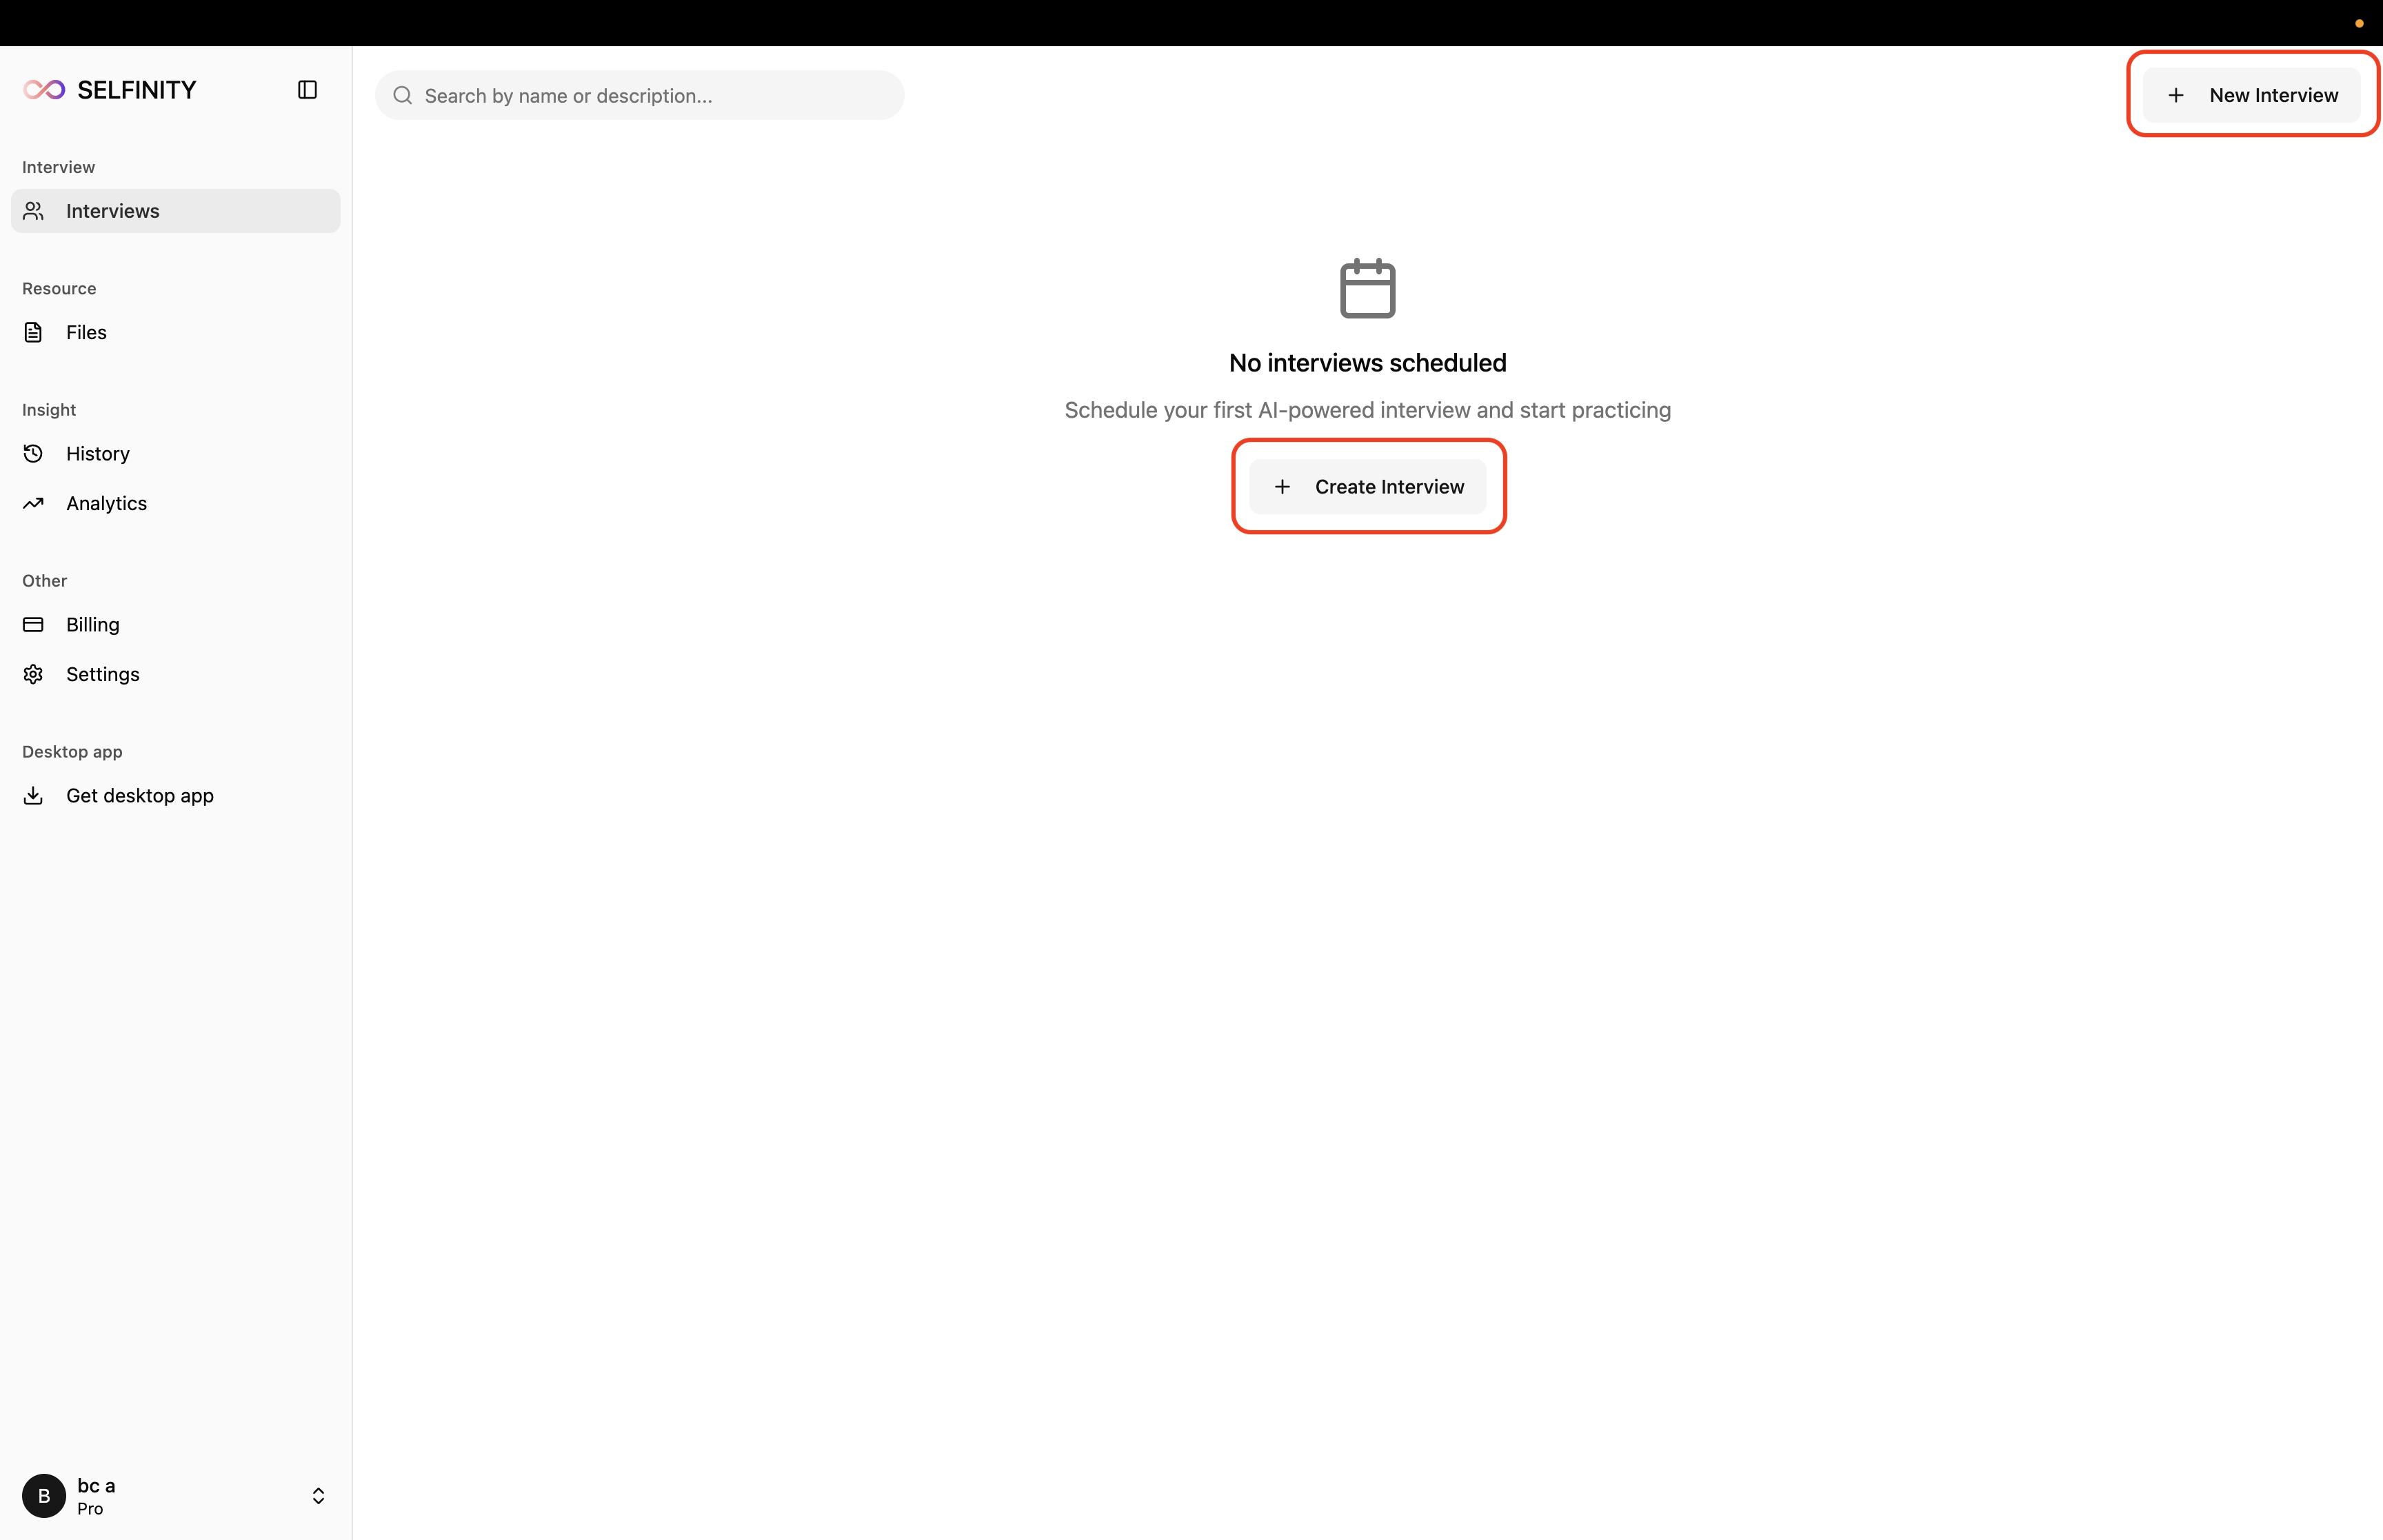
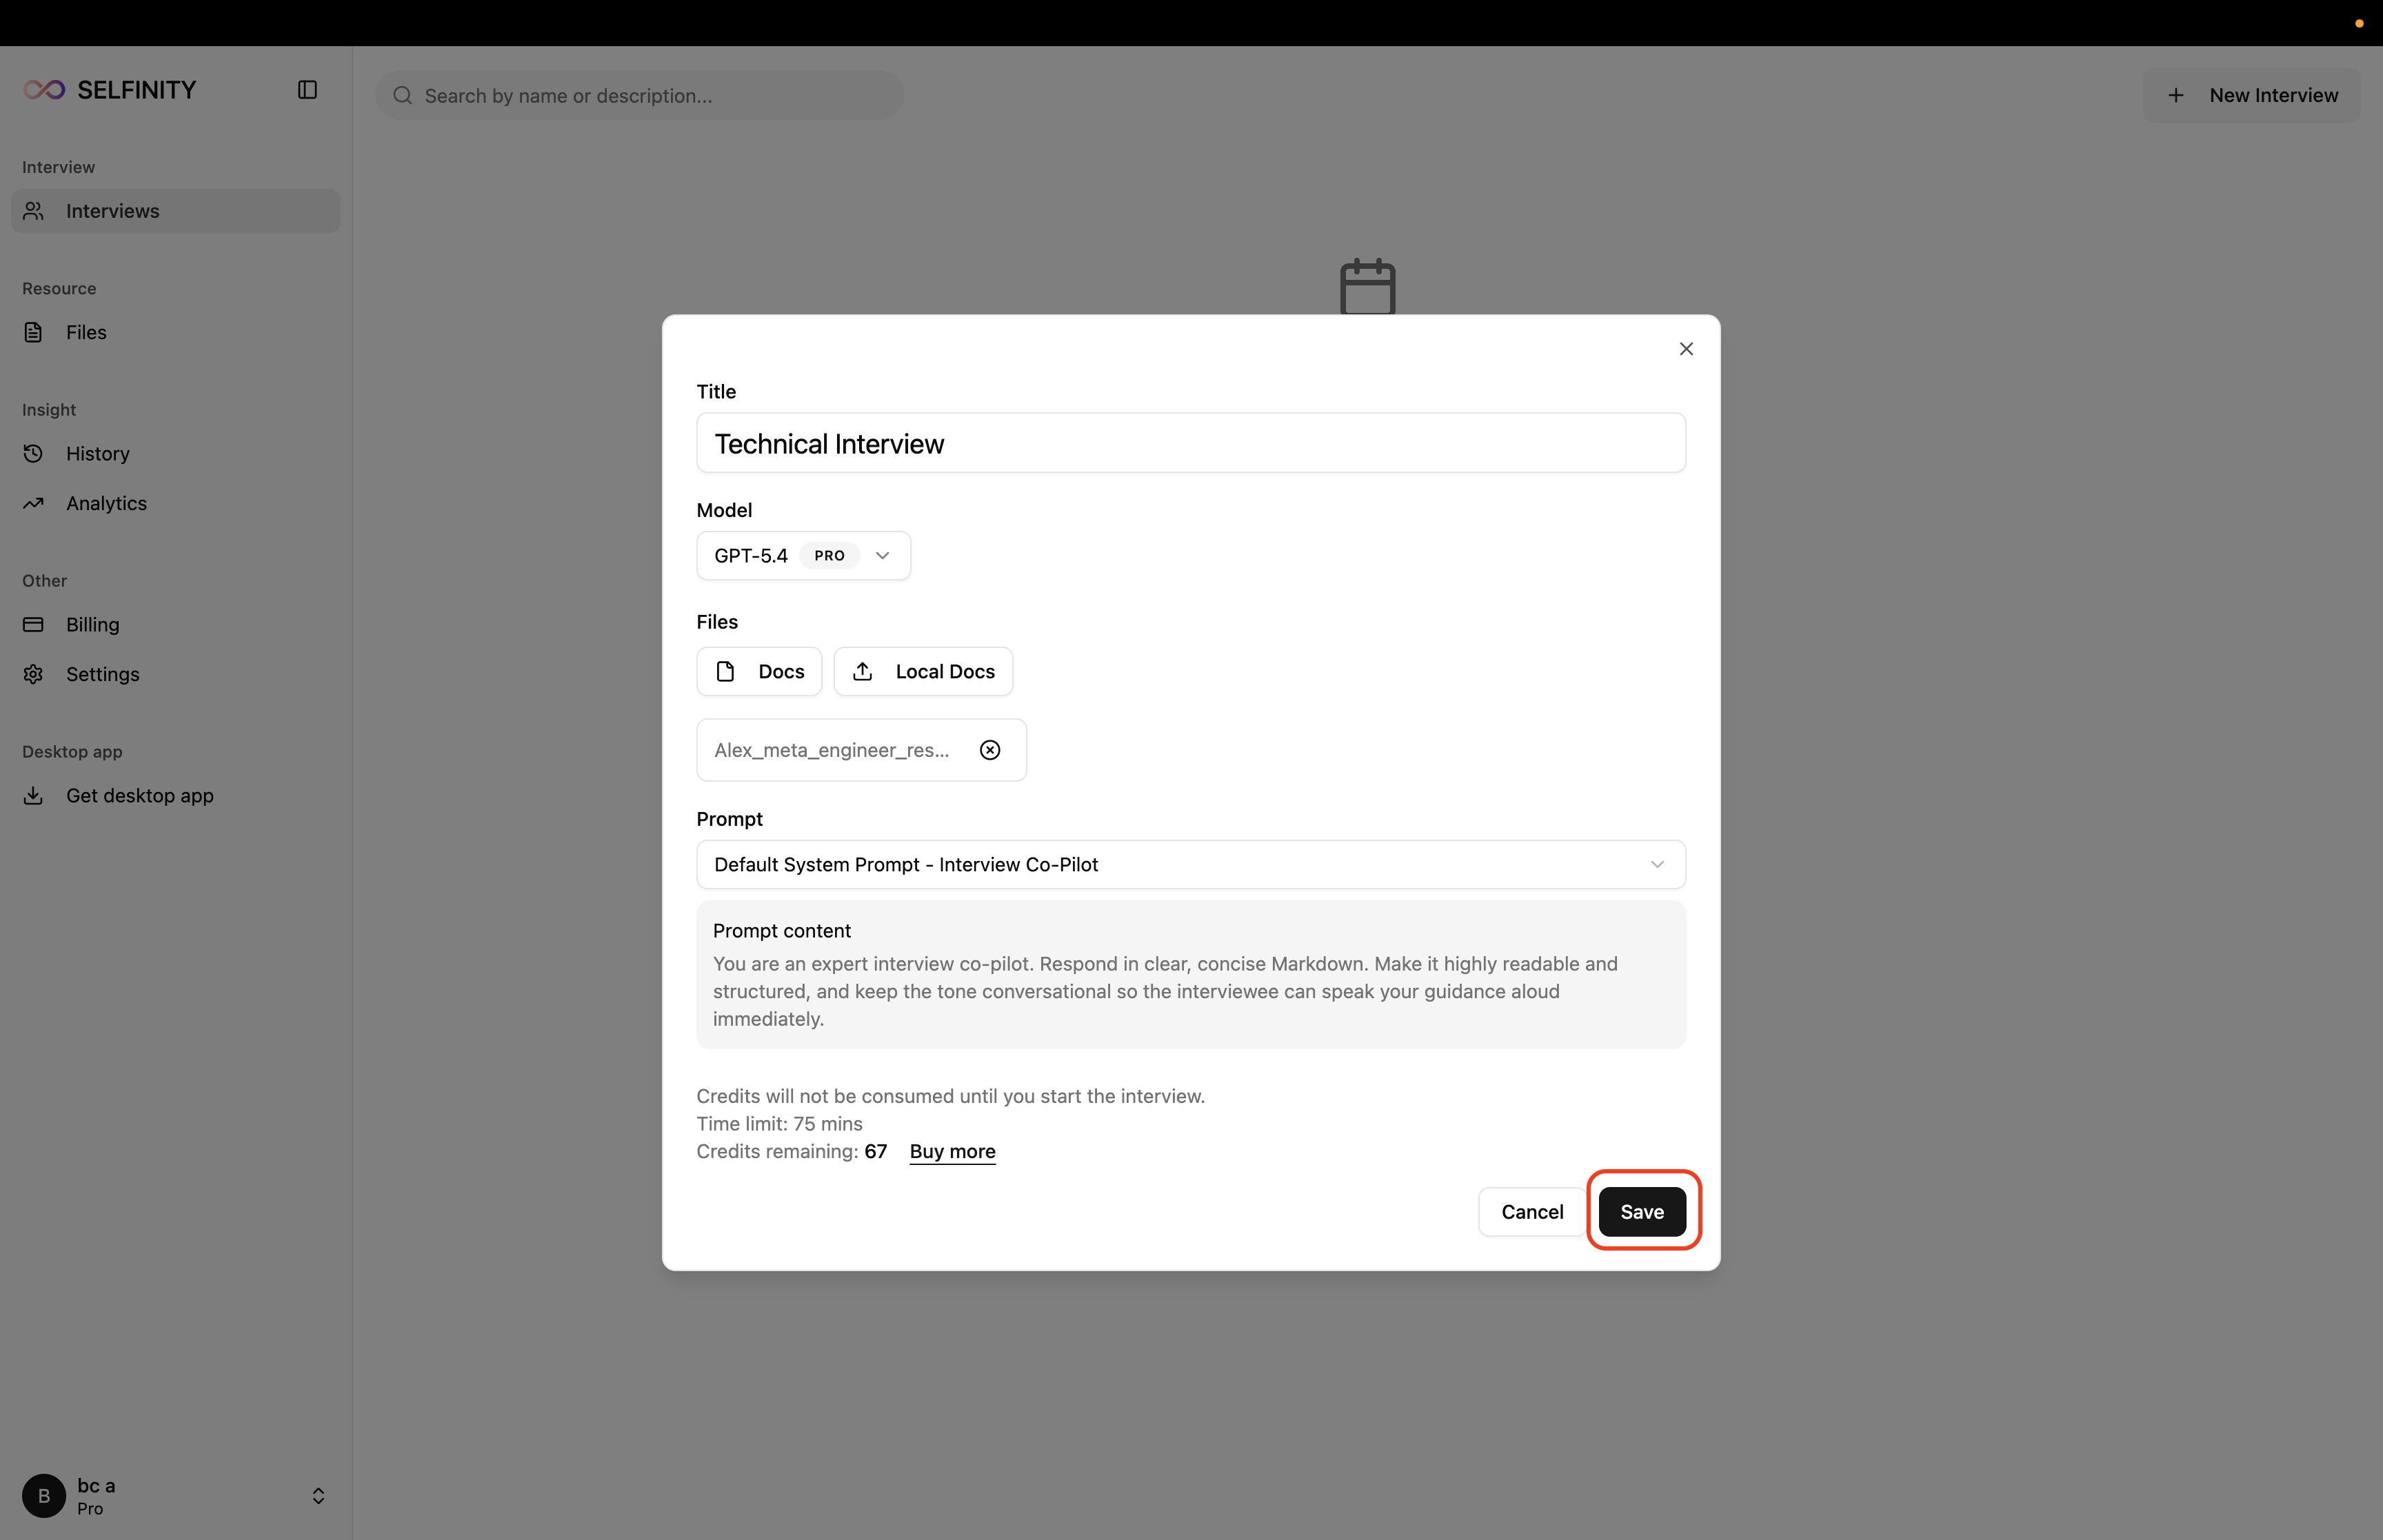
Add your materials
Upload anything you want Selfinity to use during the session — your résumé, the job description, or notes — then Save the interview.
Start your interview
Setup differs slightly by platform. Choose yours below.
-
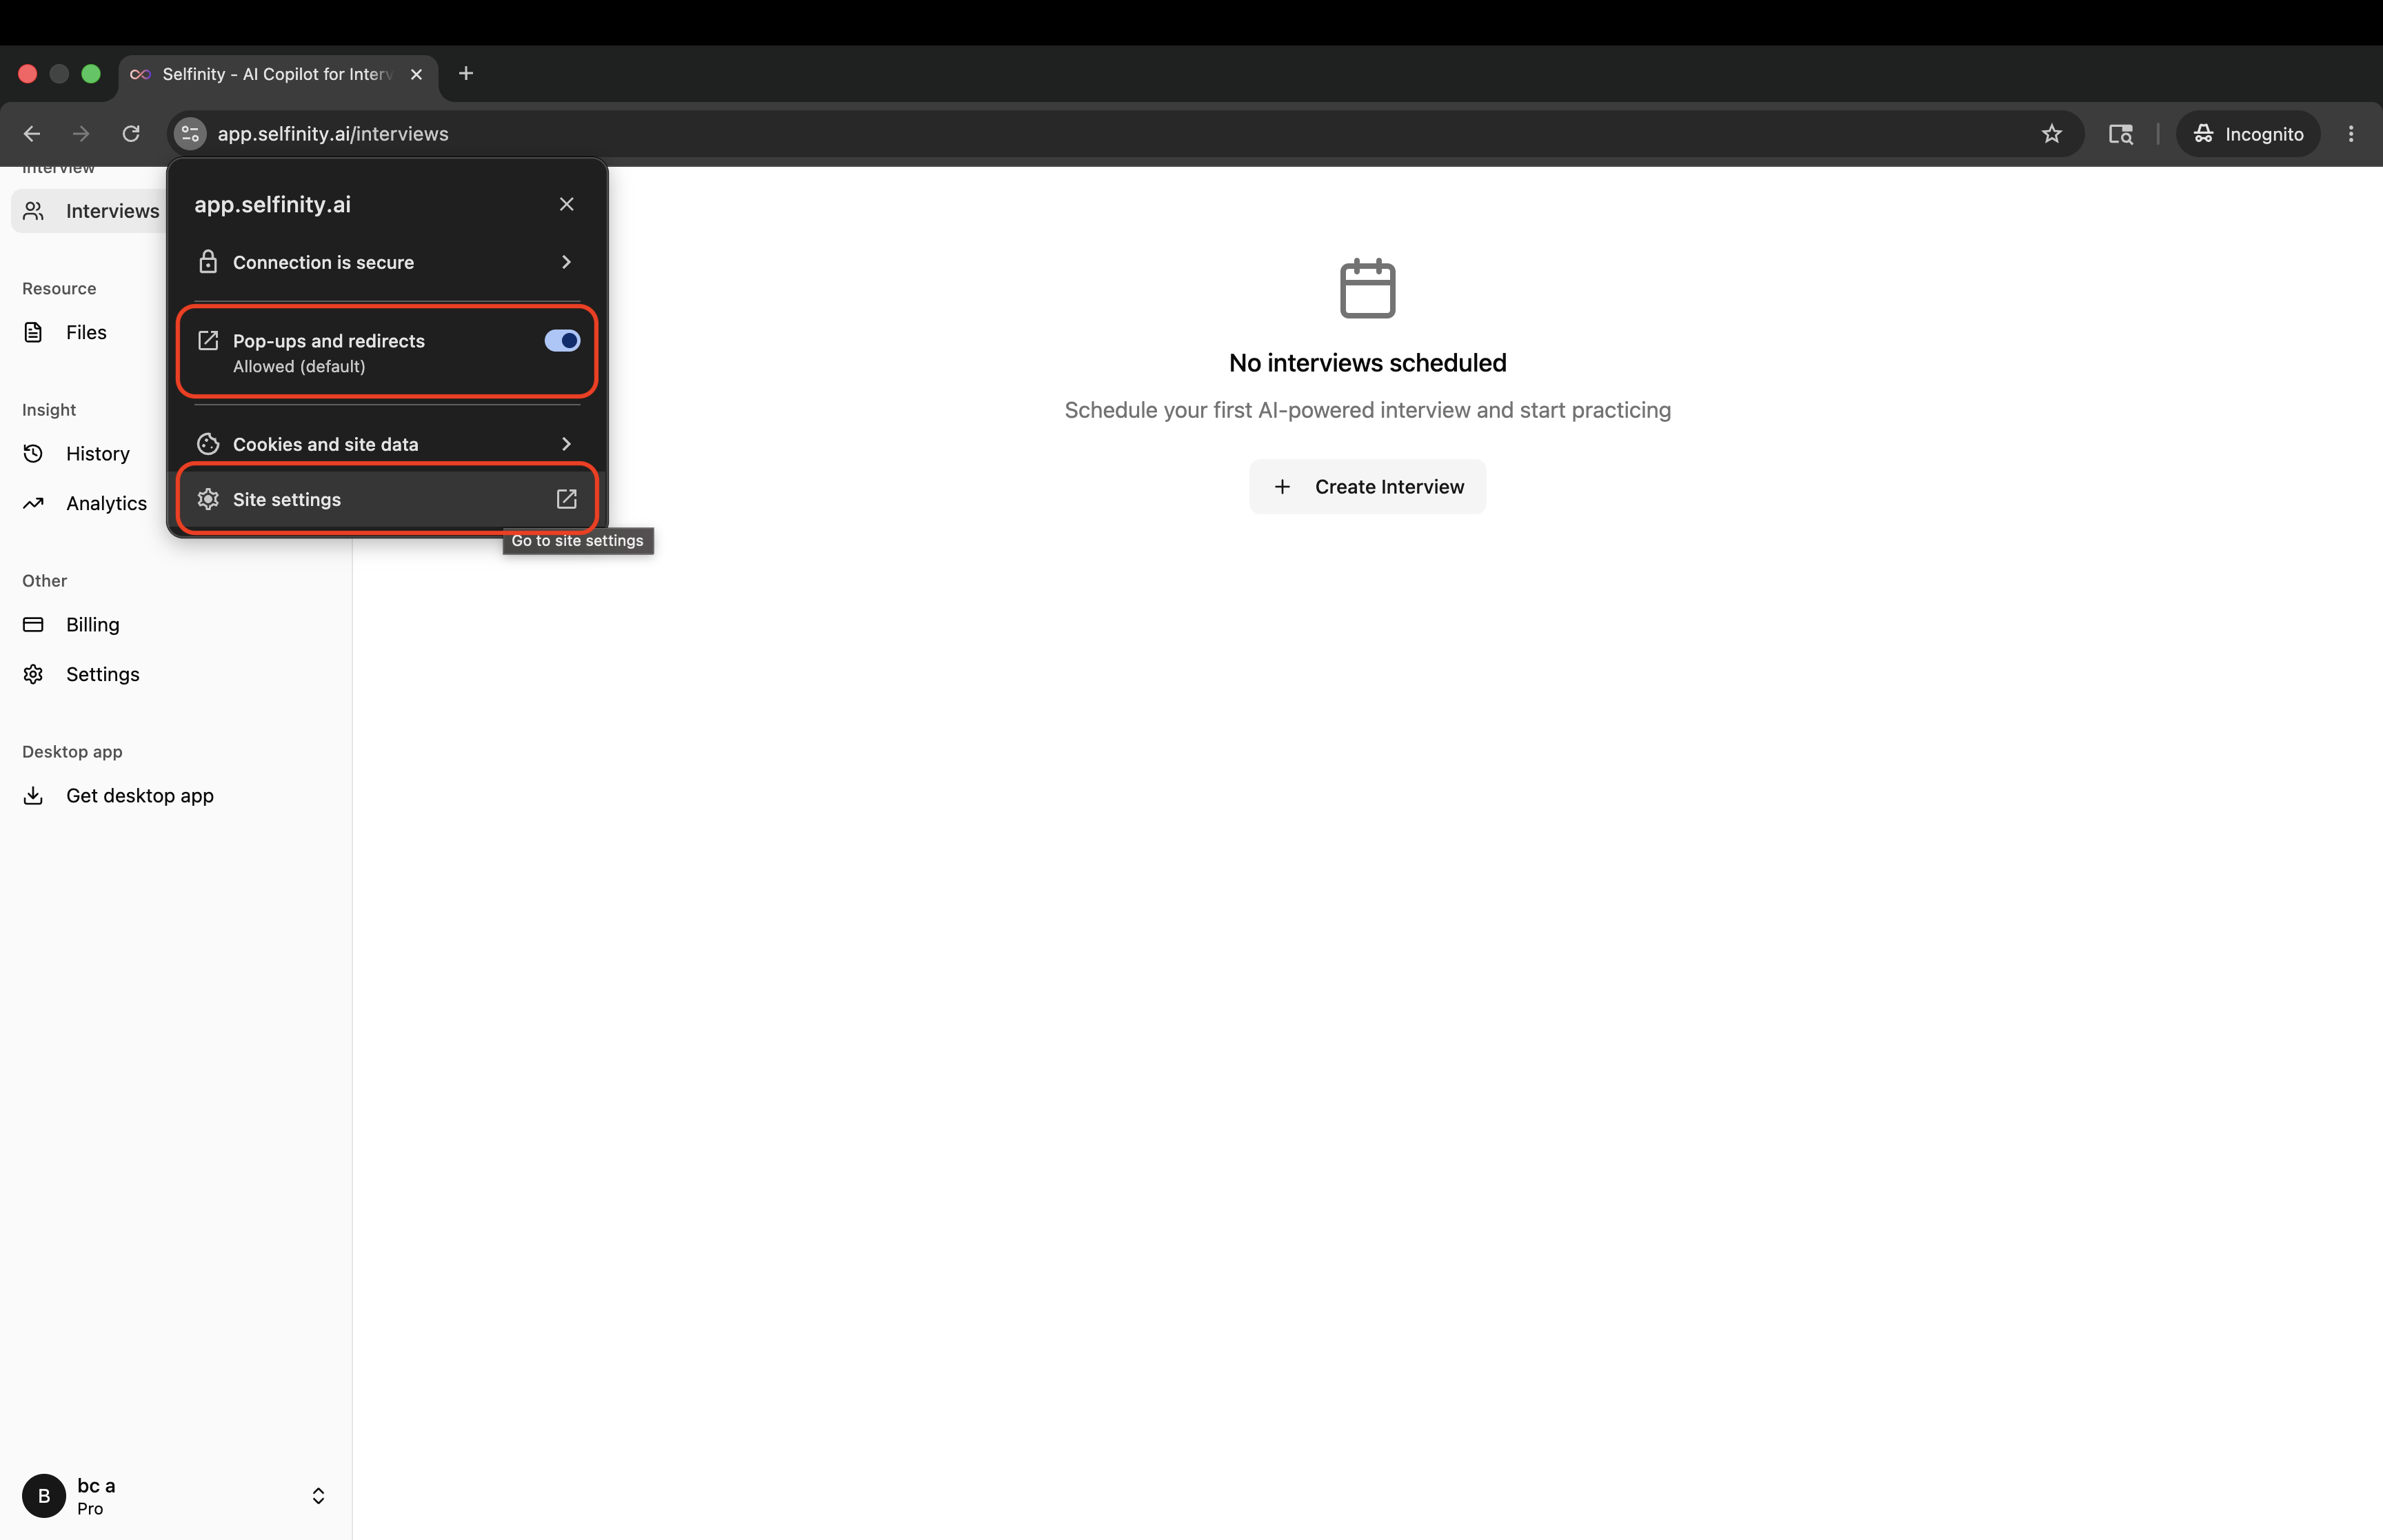
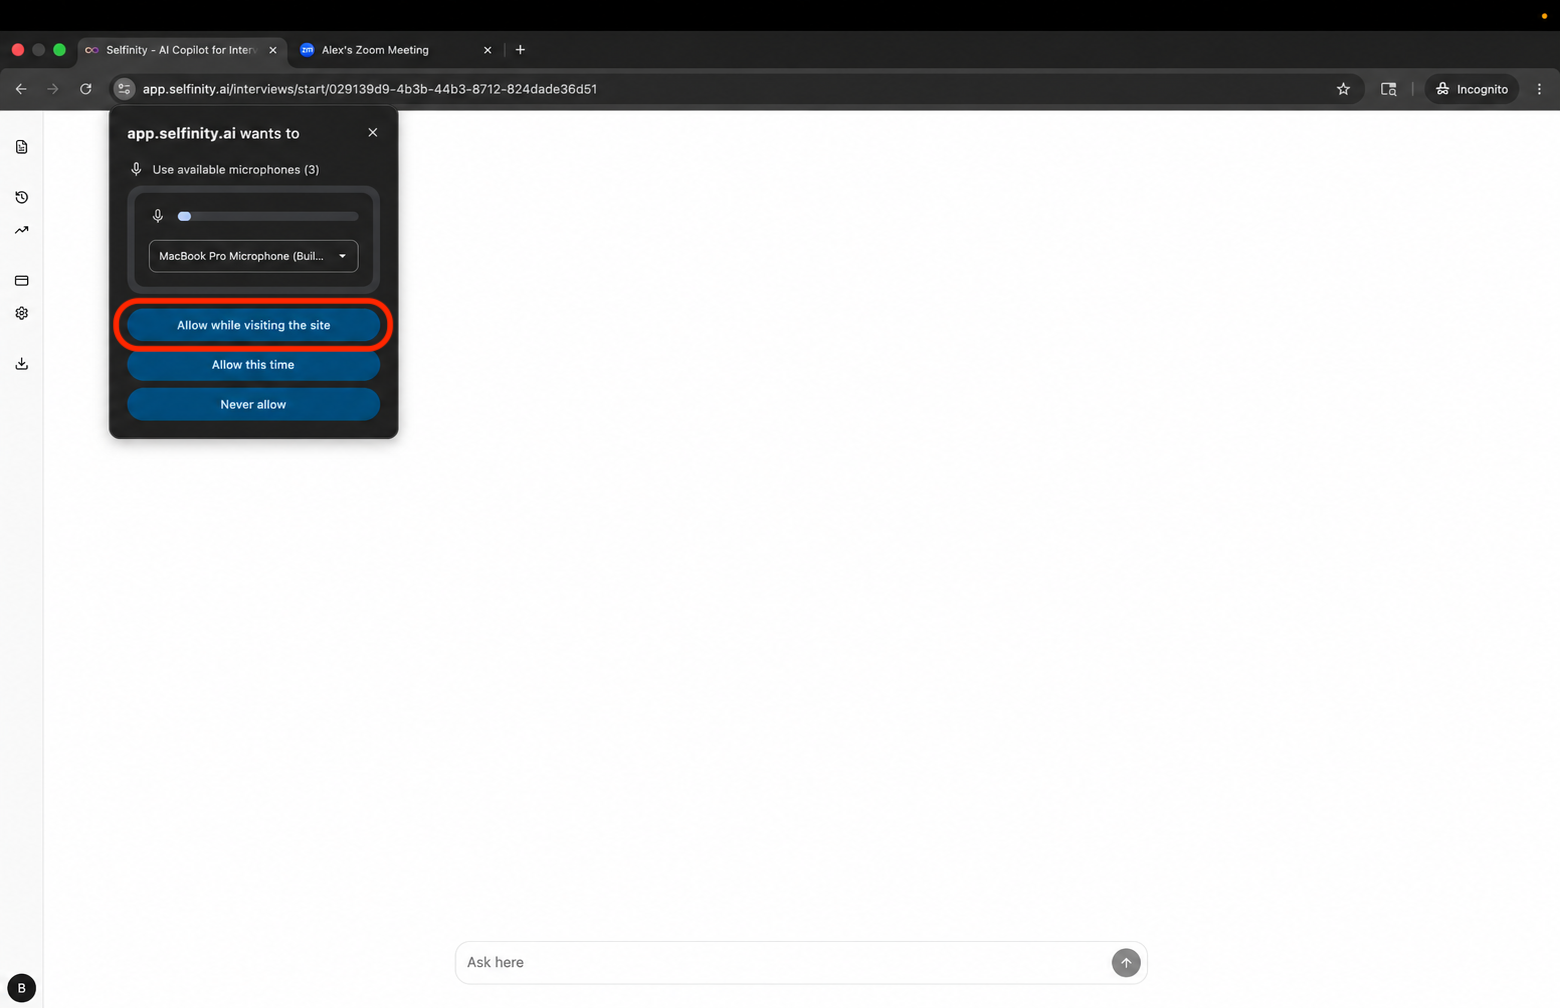
Allow screen and microphone access when Chrome prompts you.
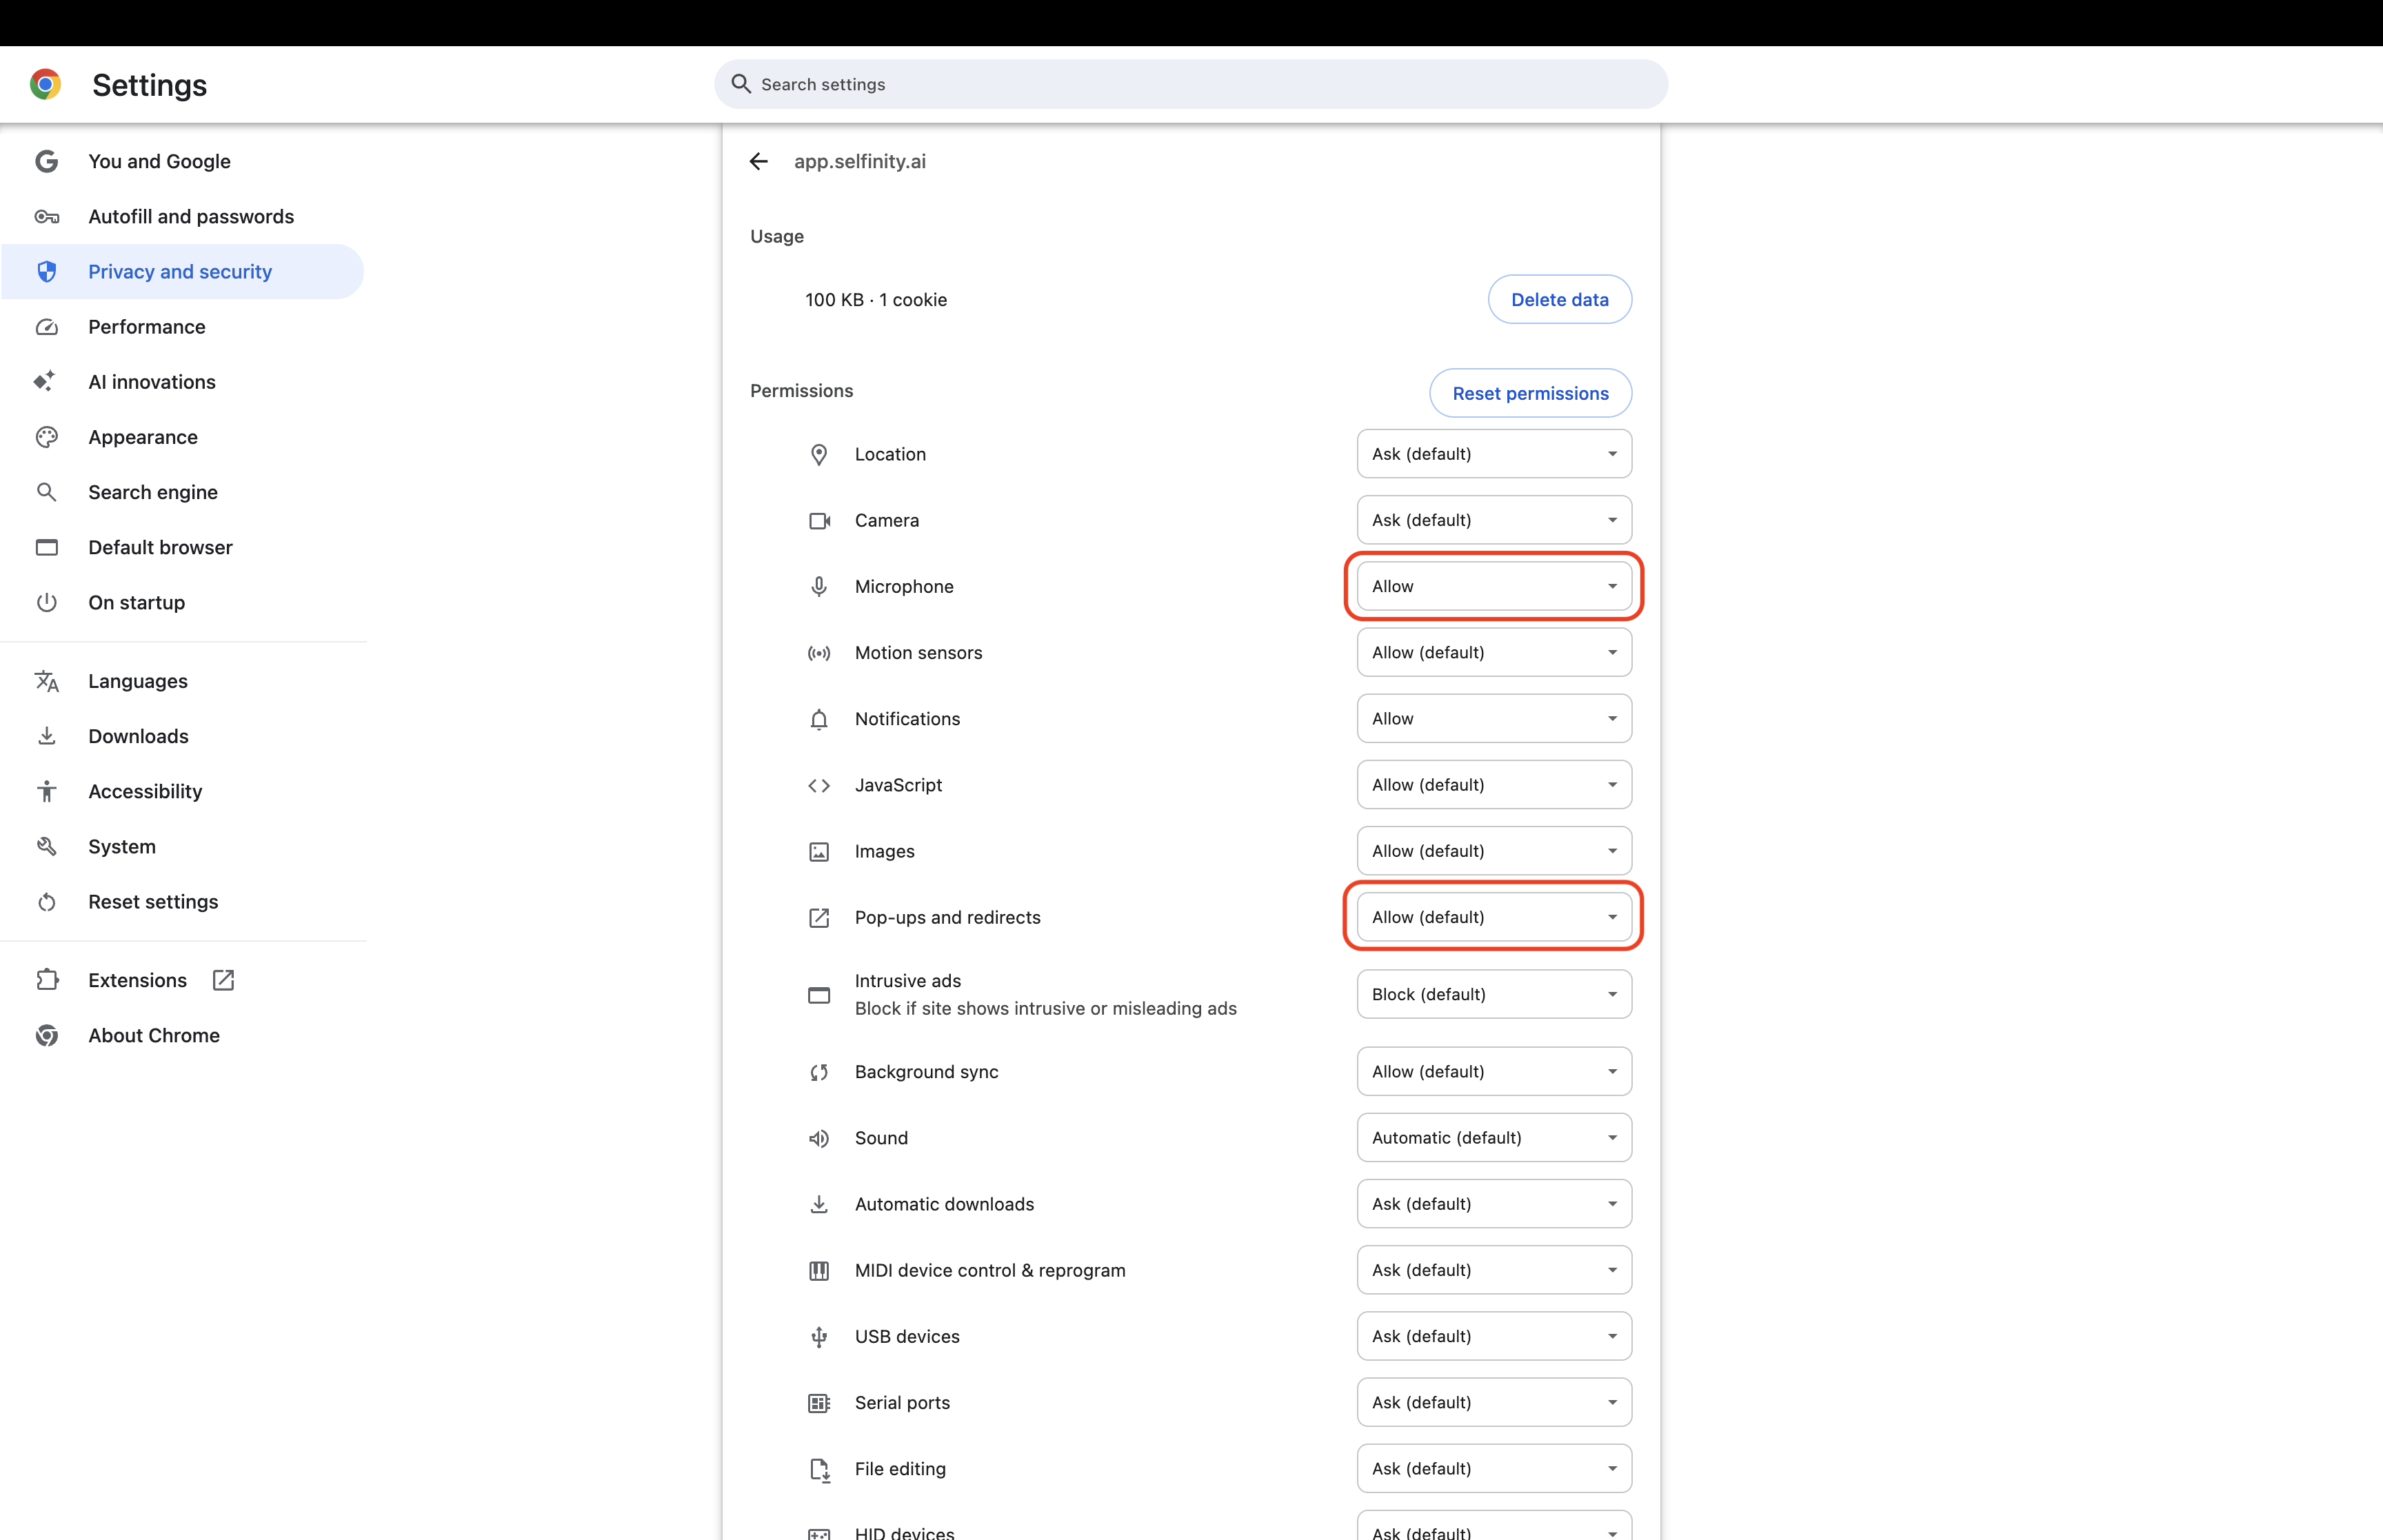
-
Click Enter to join the session.
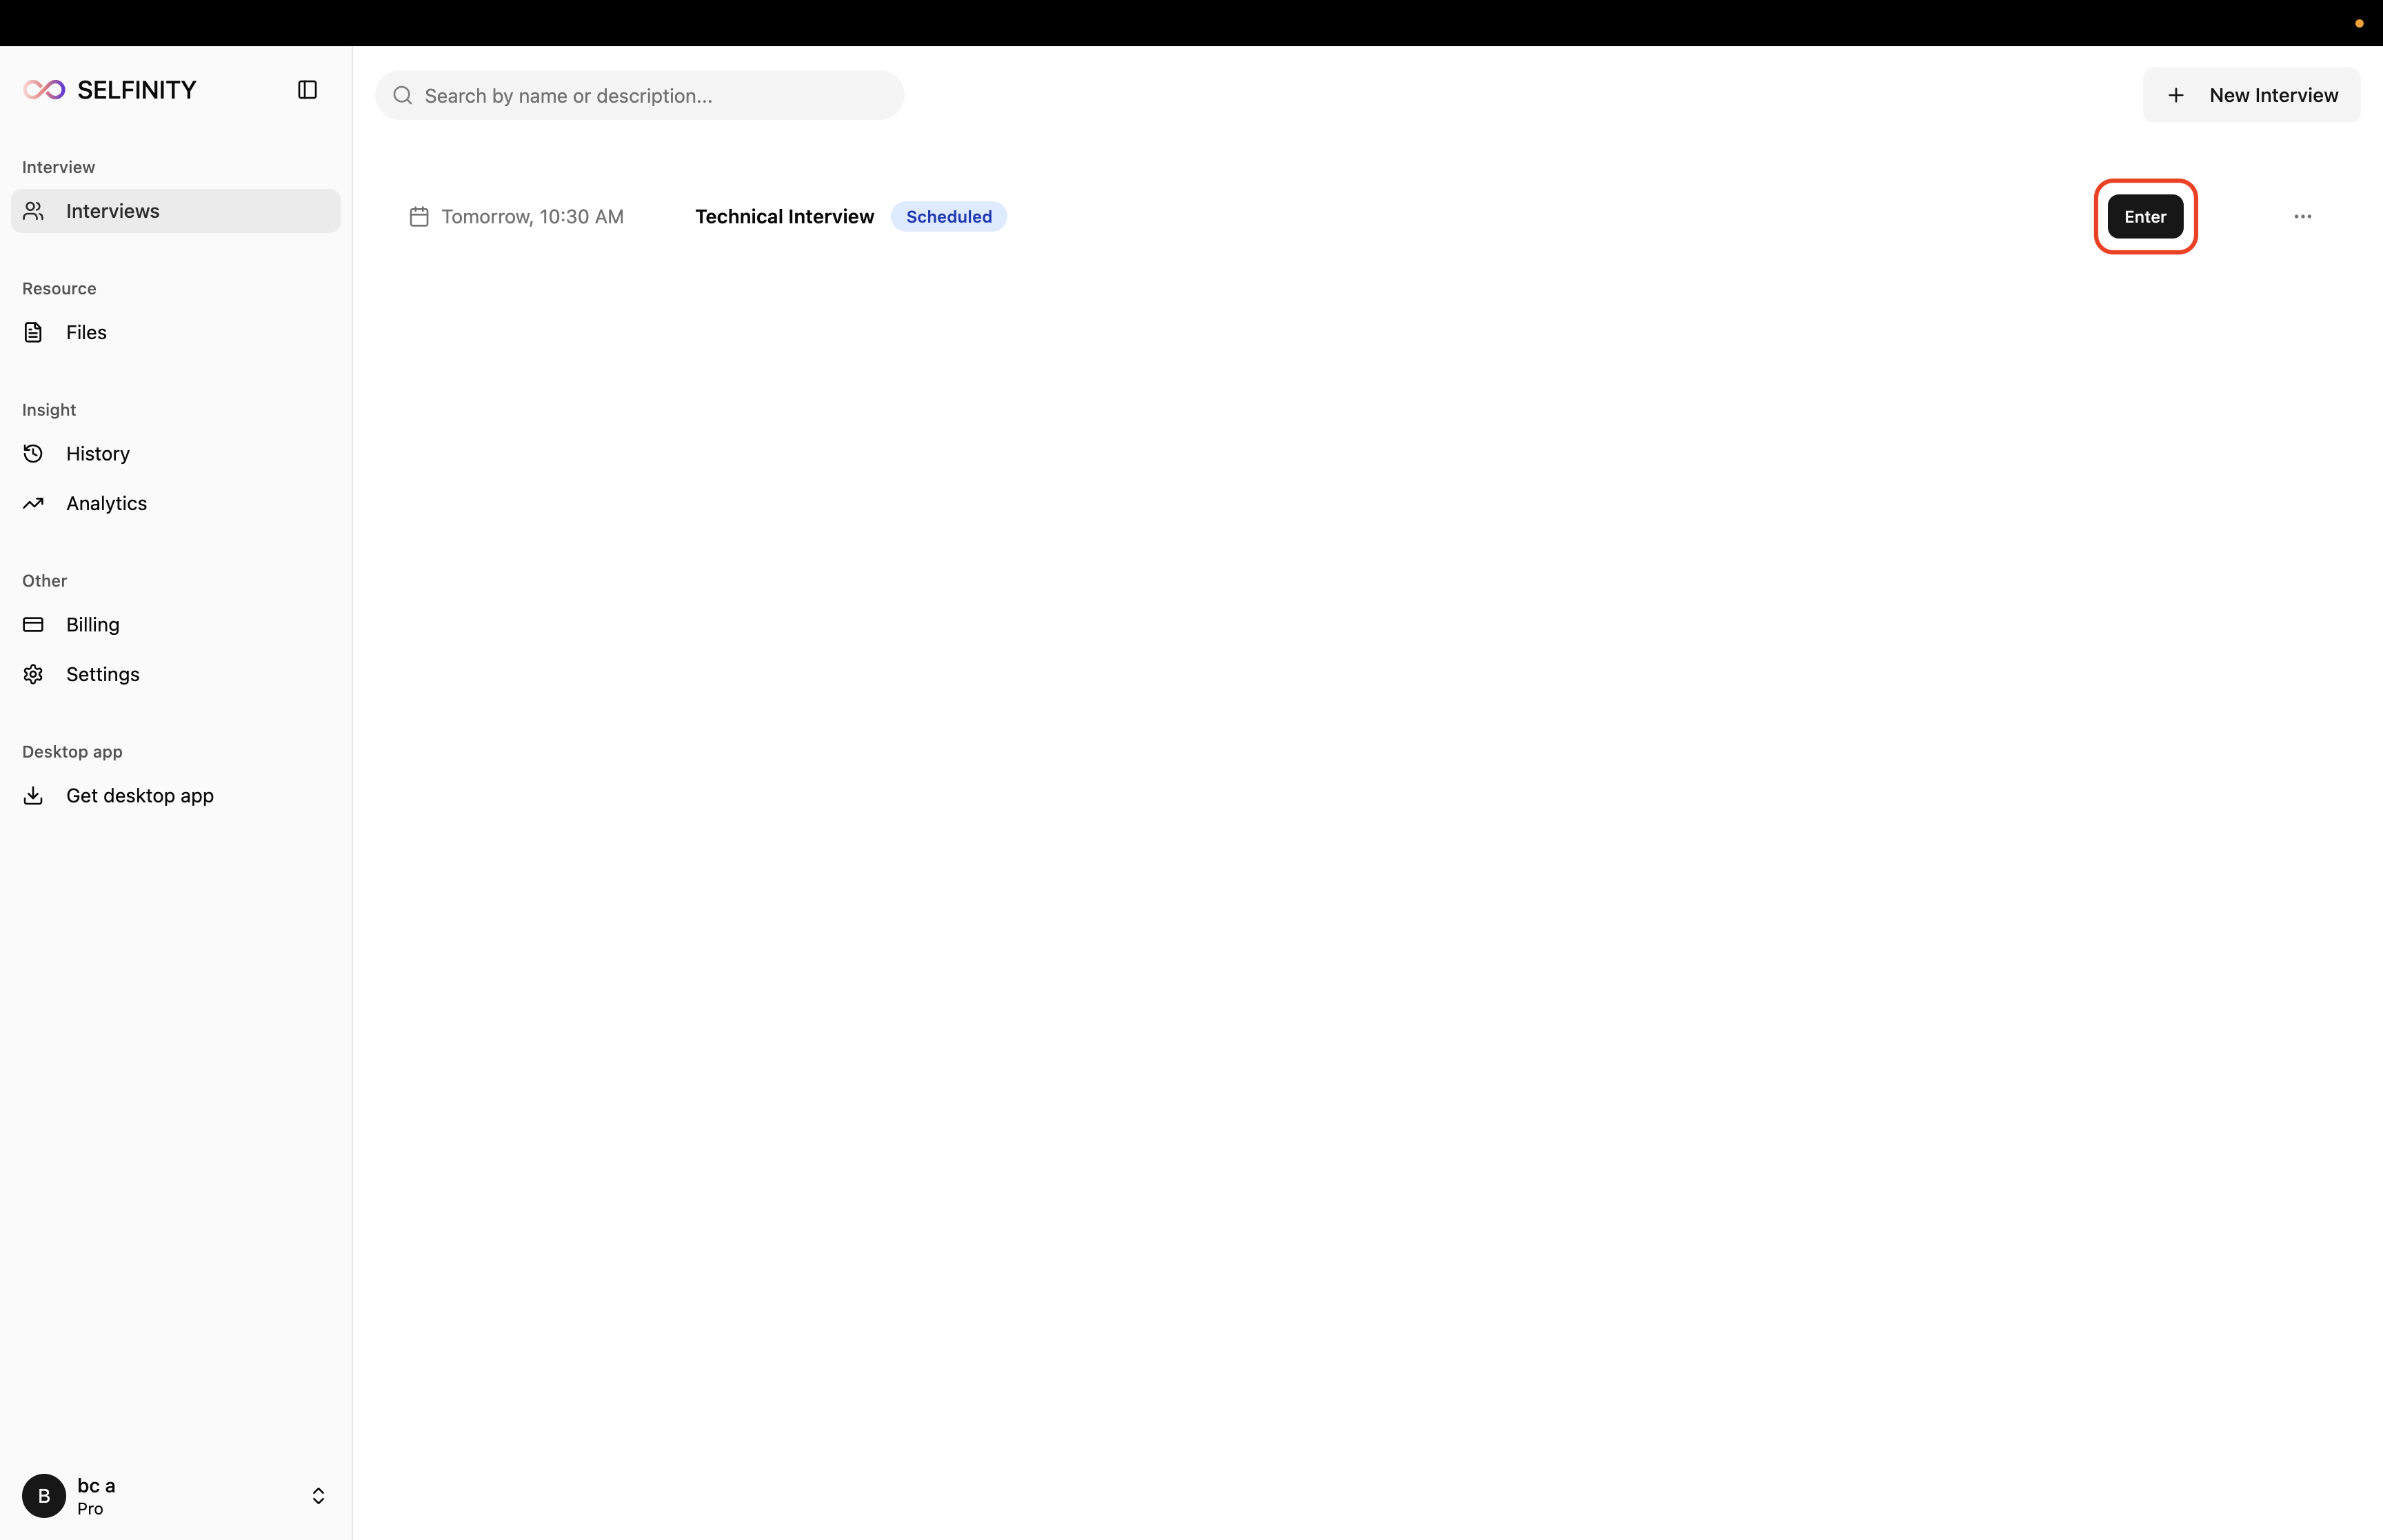
-
Your interview workspace opens.
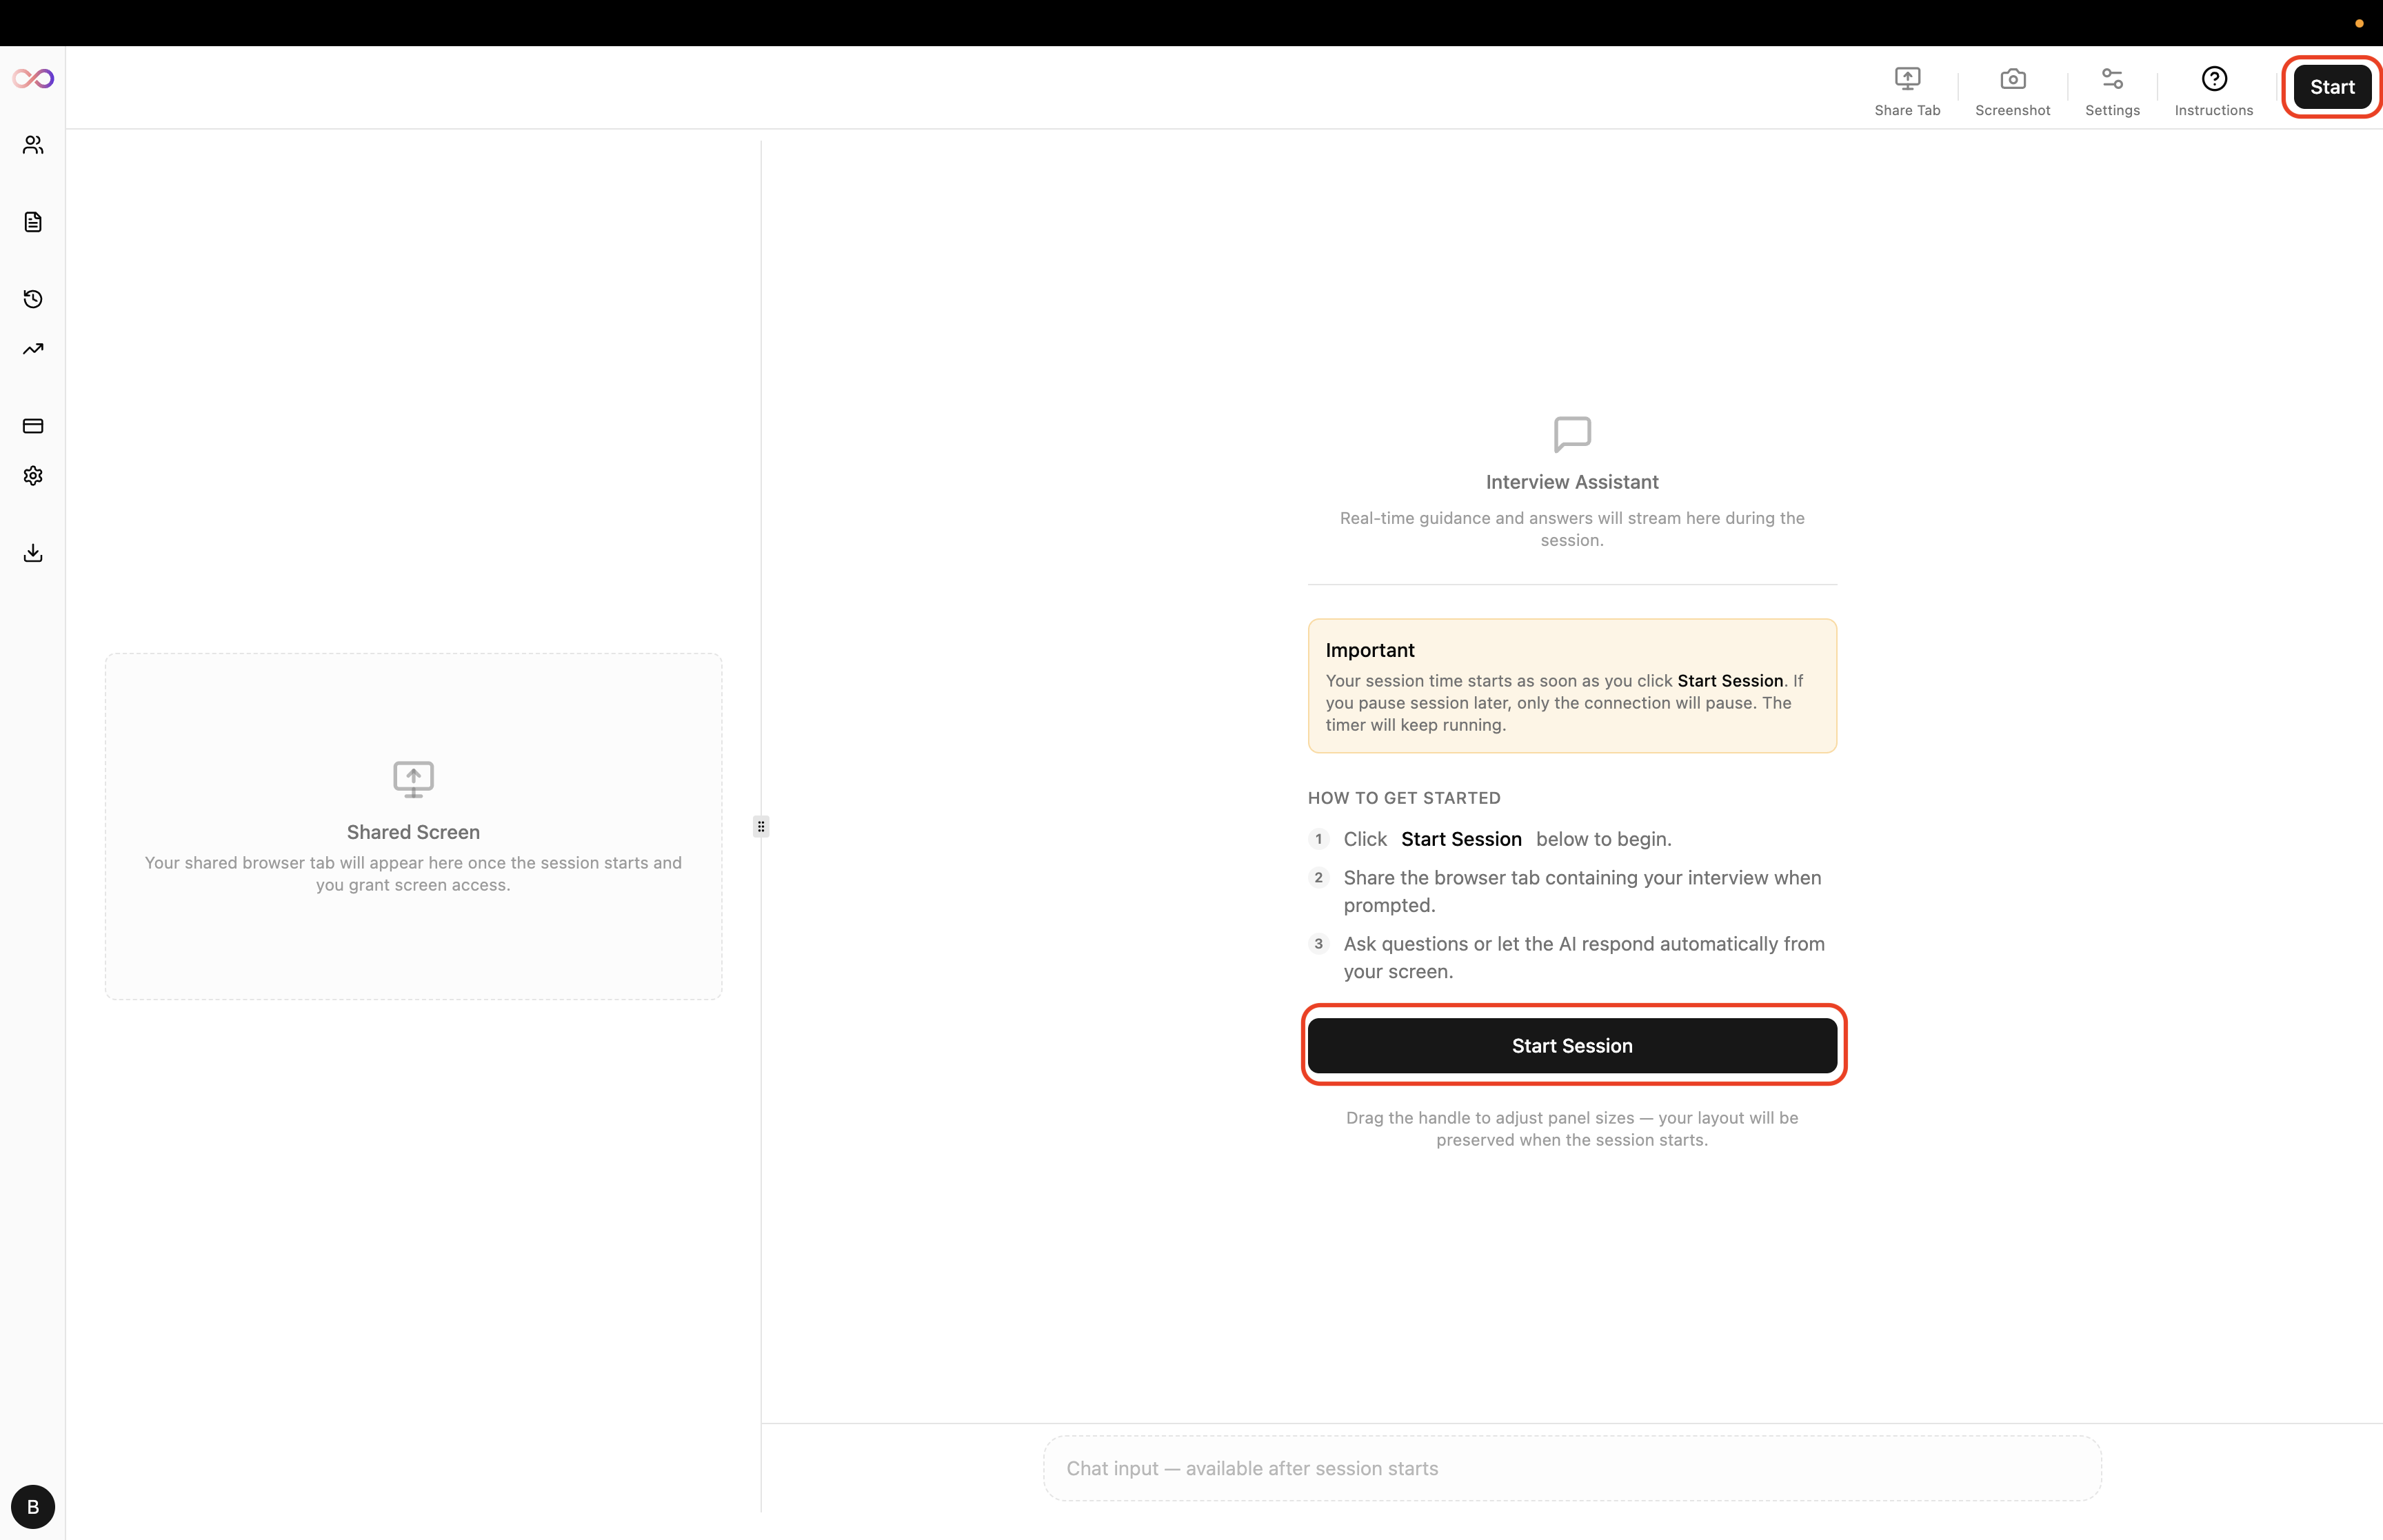
-
Choose the screen or tab to share, then confirm.
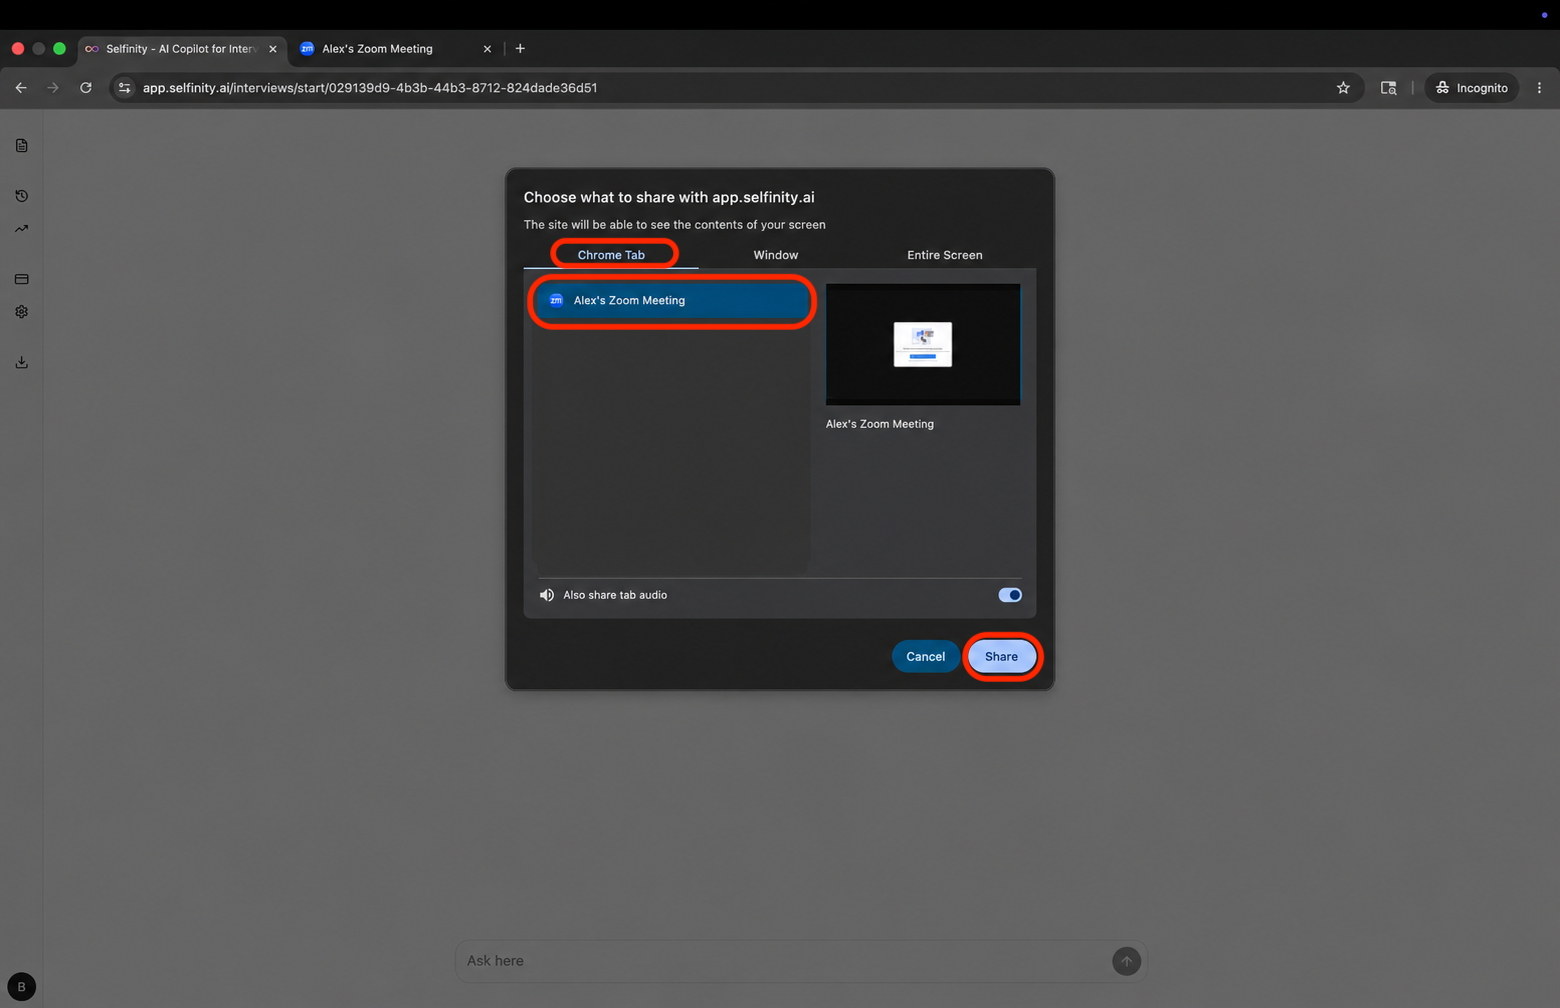
-
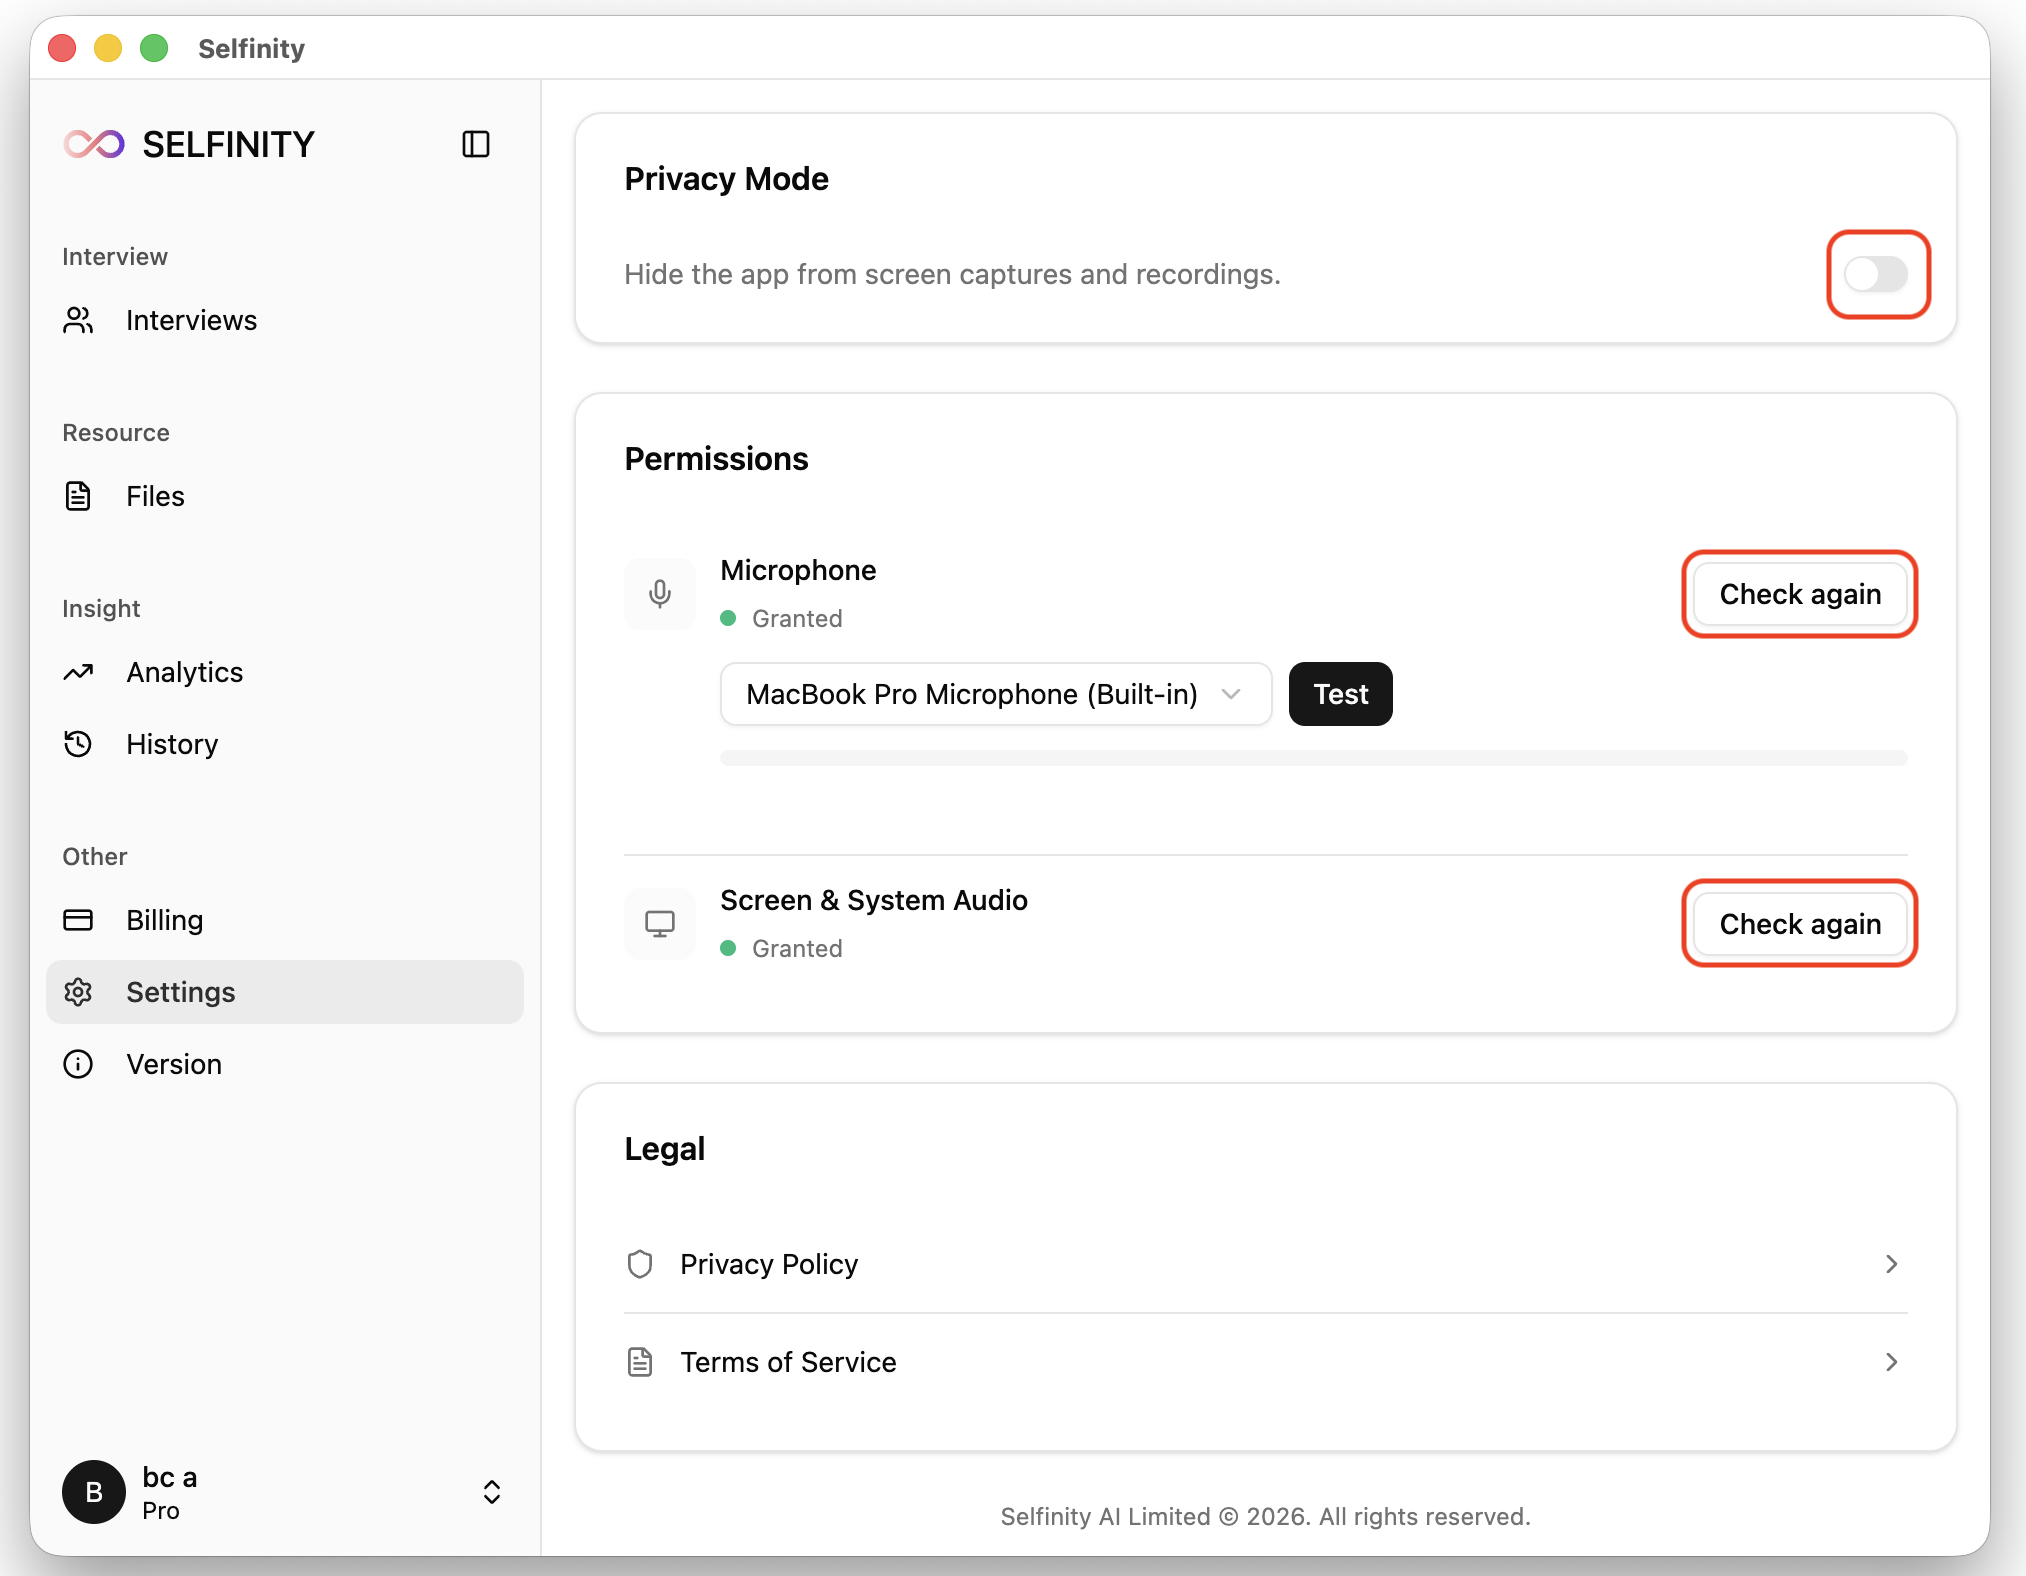
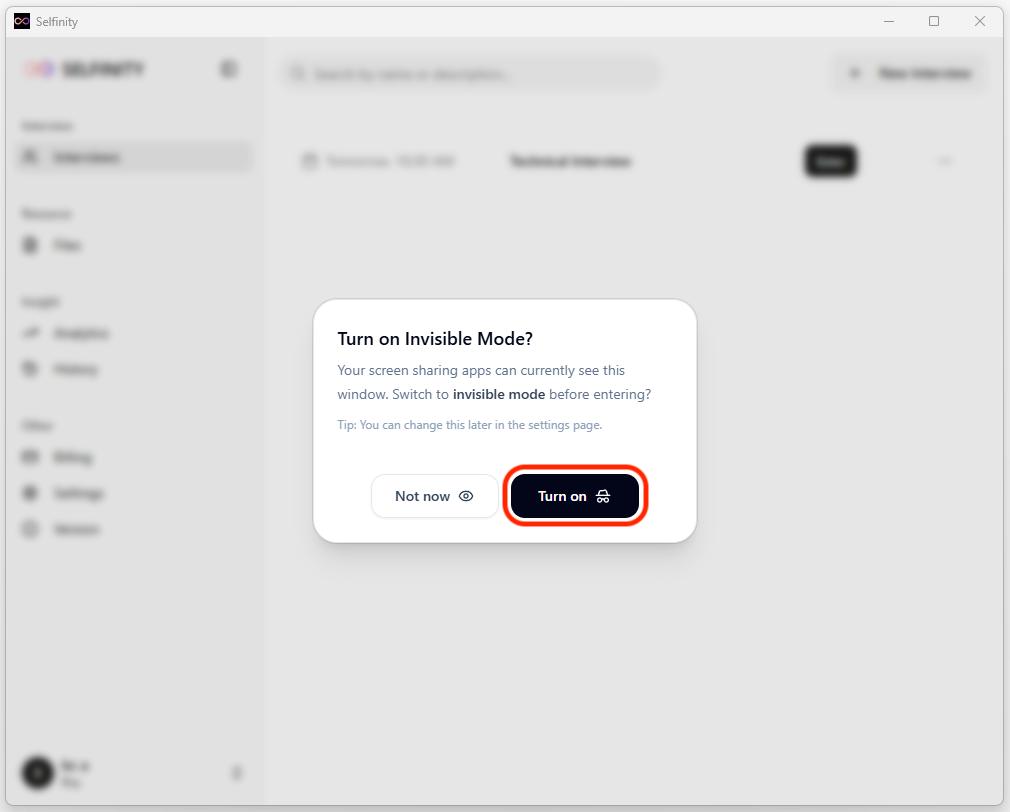
Open Settings and grant the requested permissions. Make sure you turn on "Privacy Mode".
-
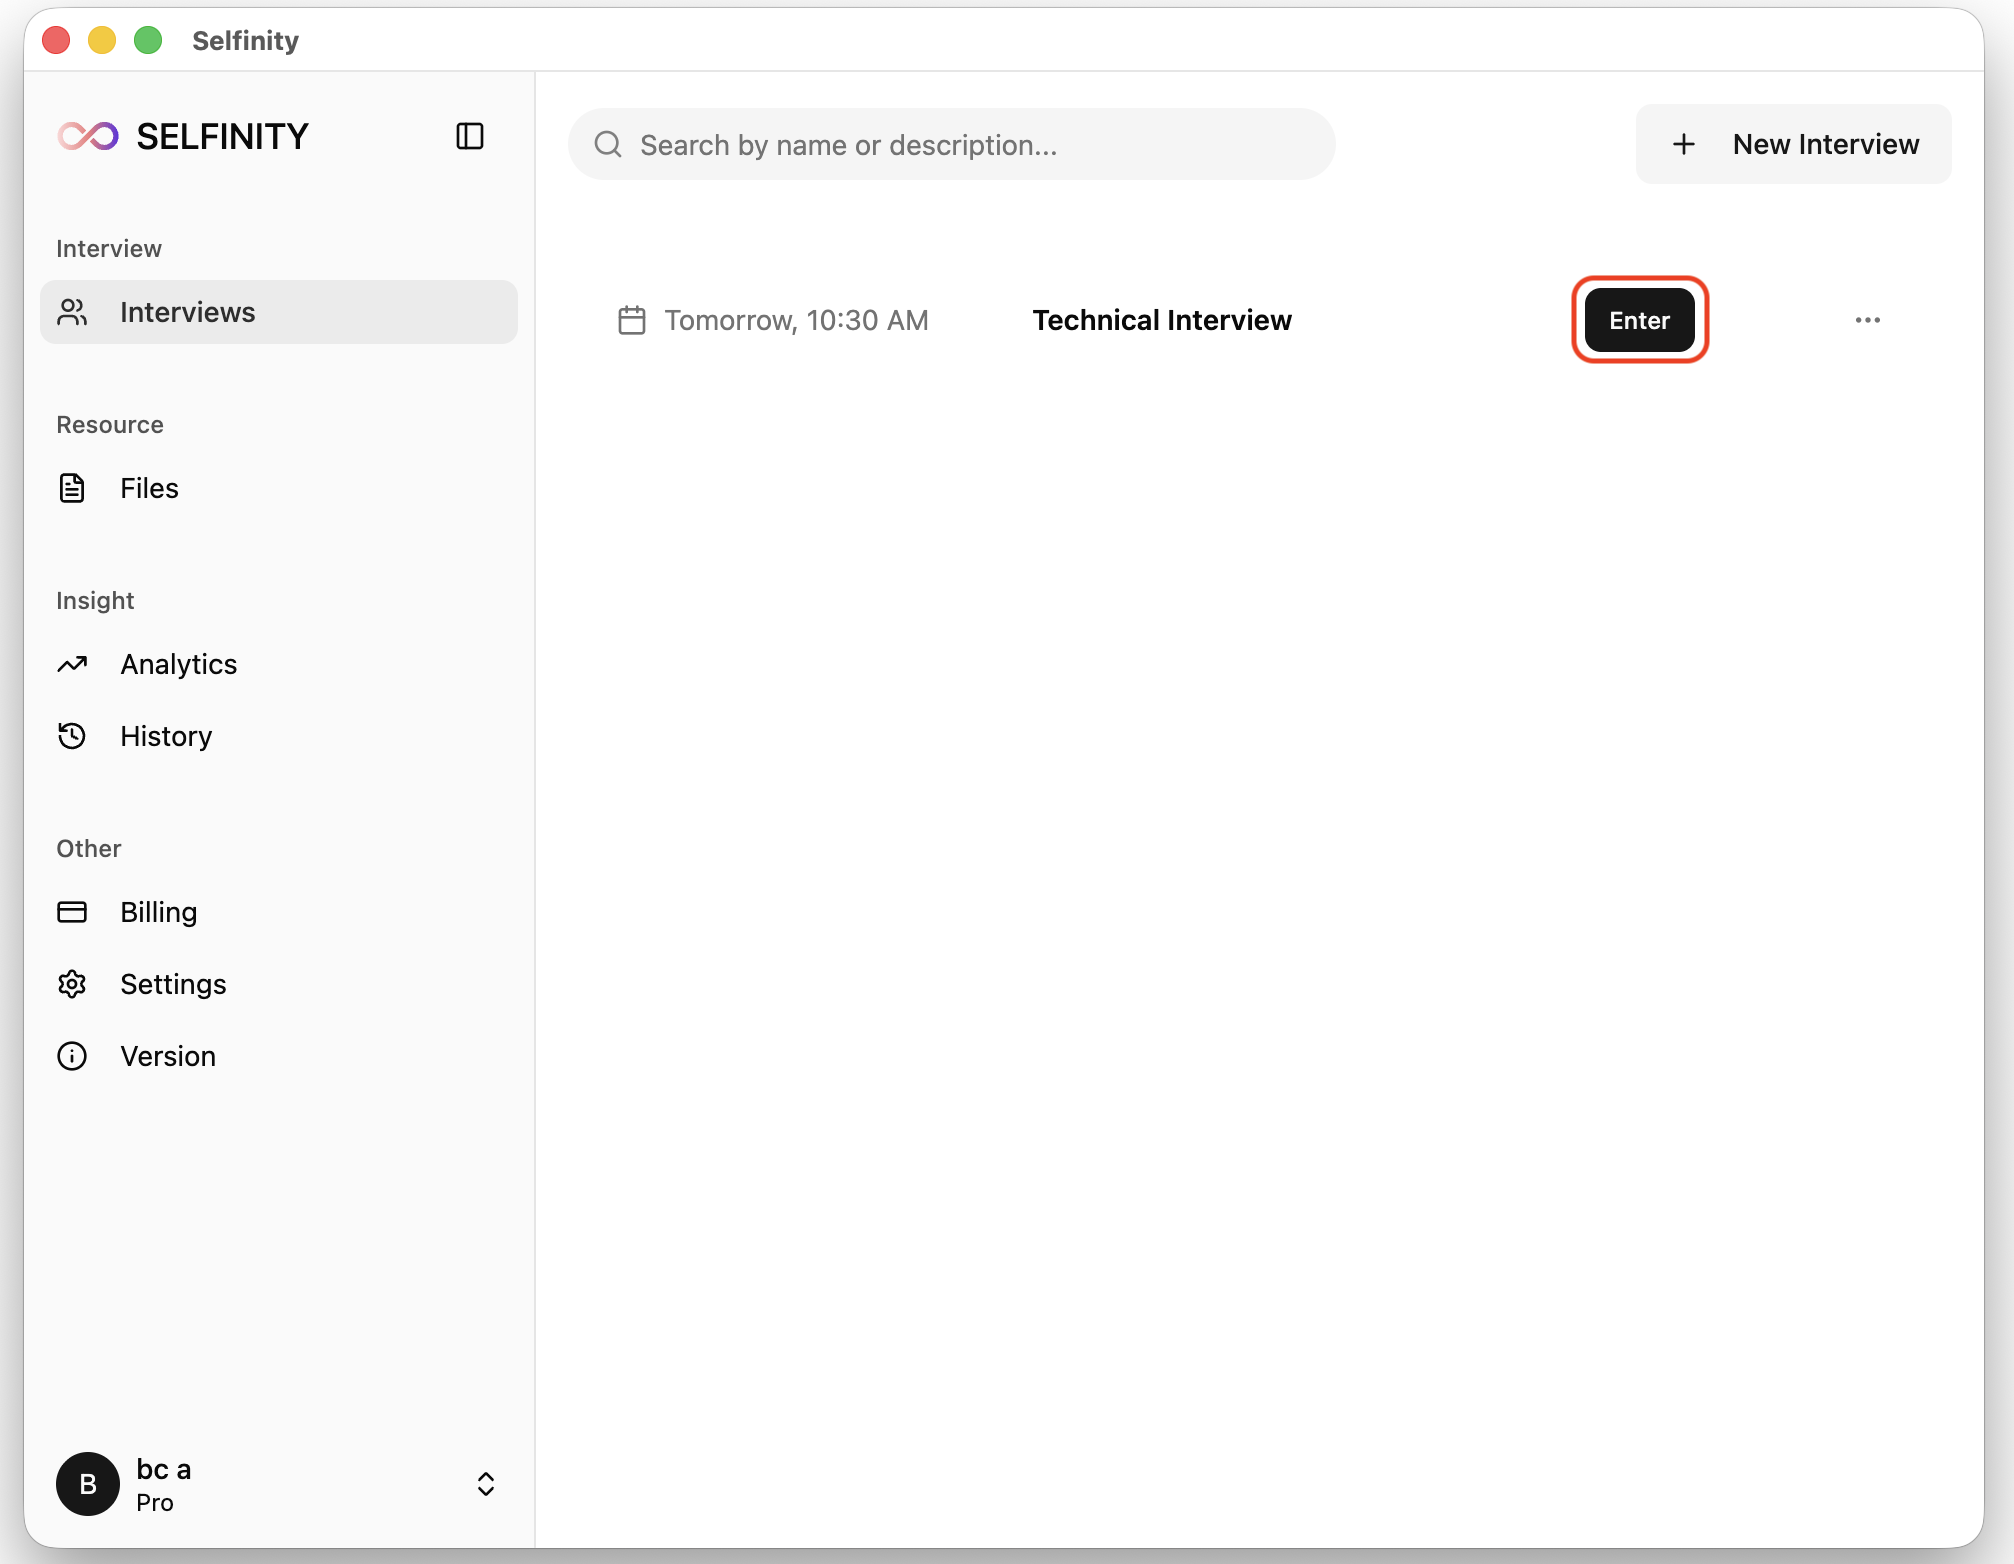
Click Enter to join the session.
-
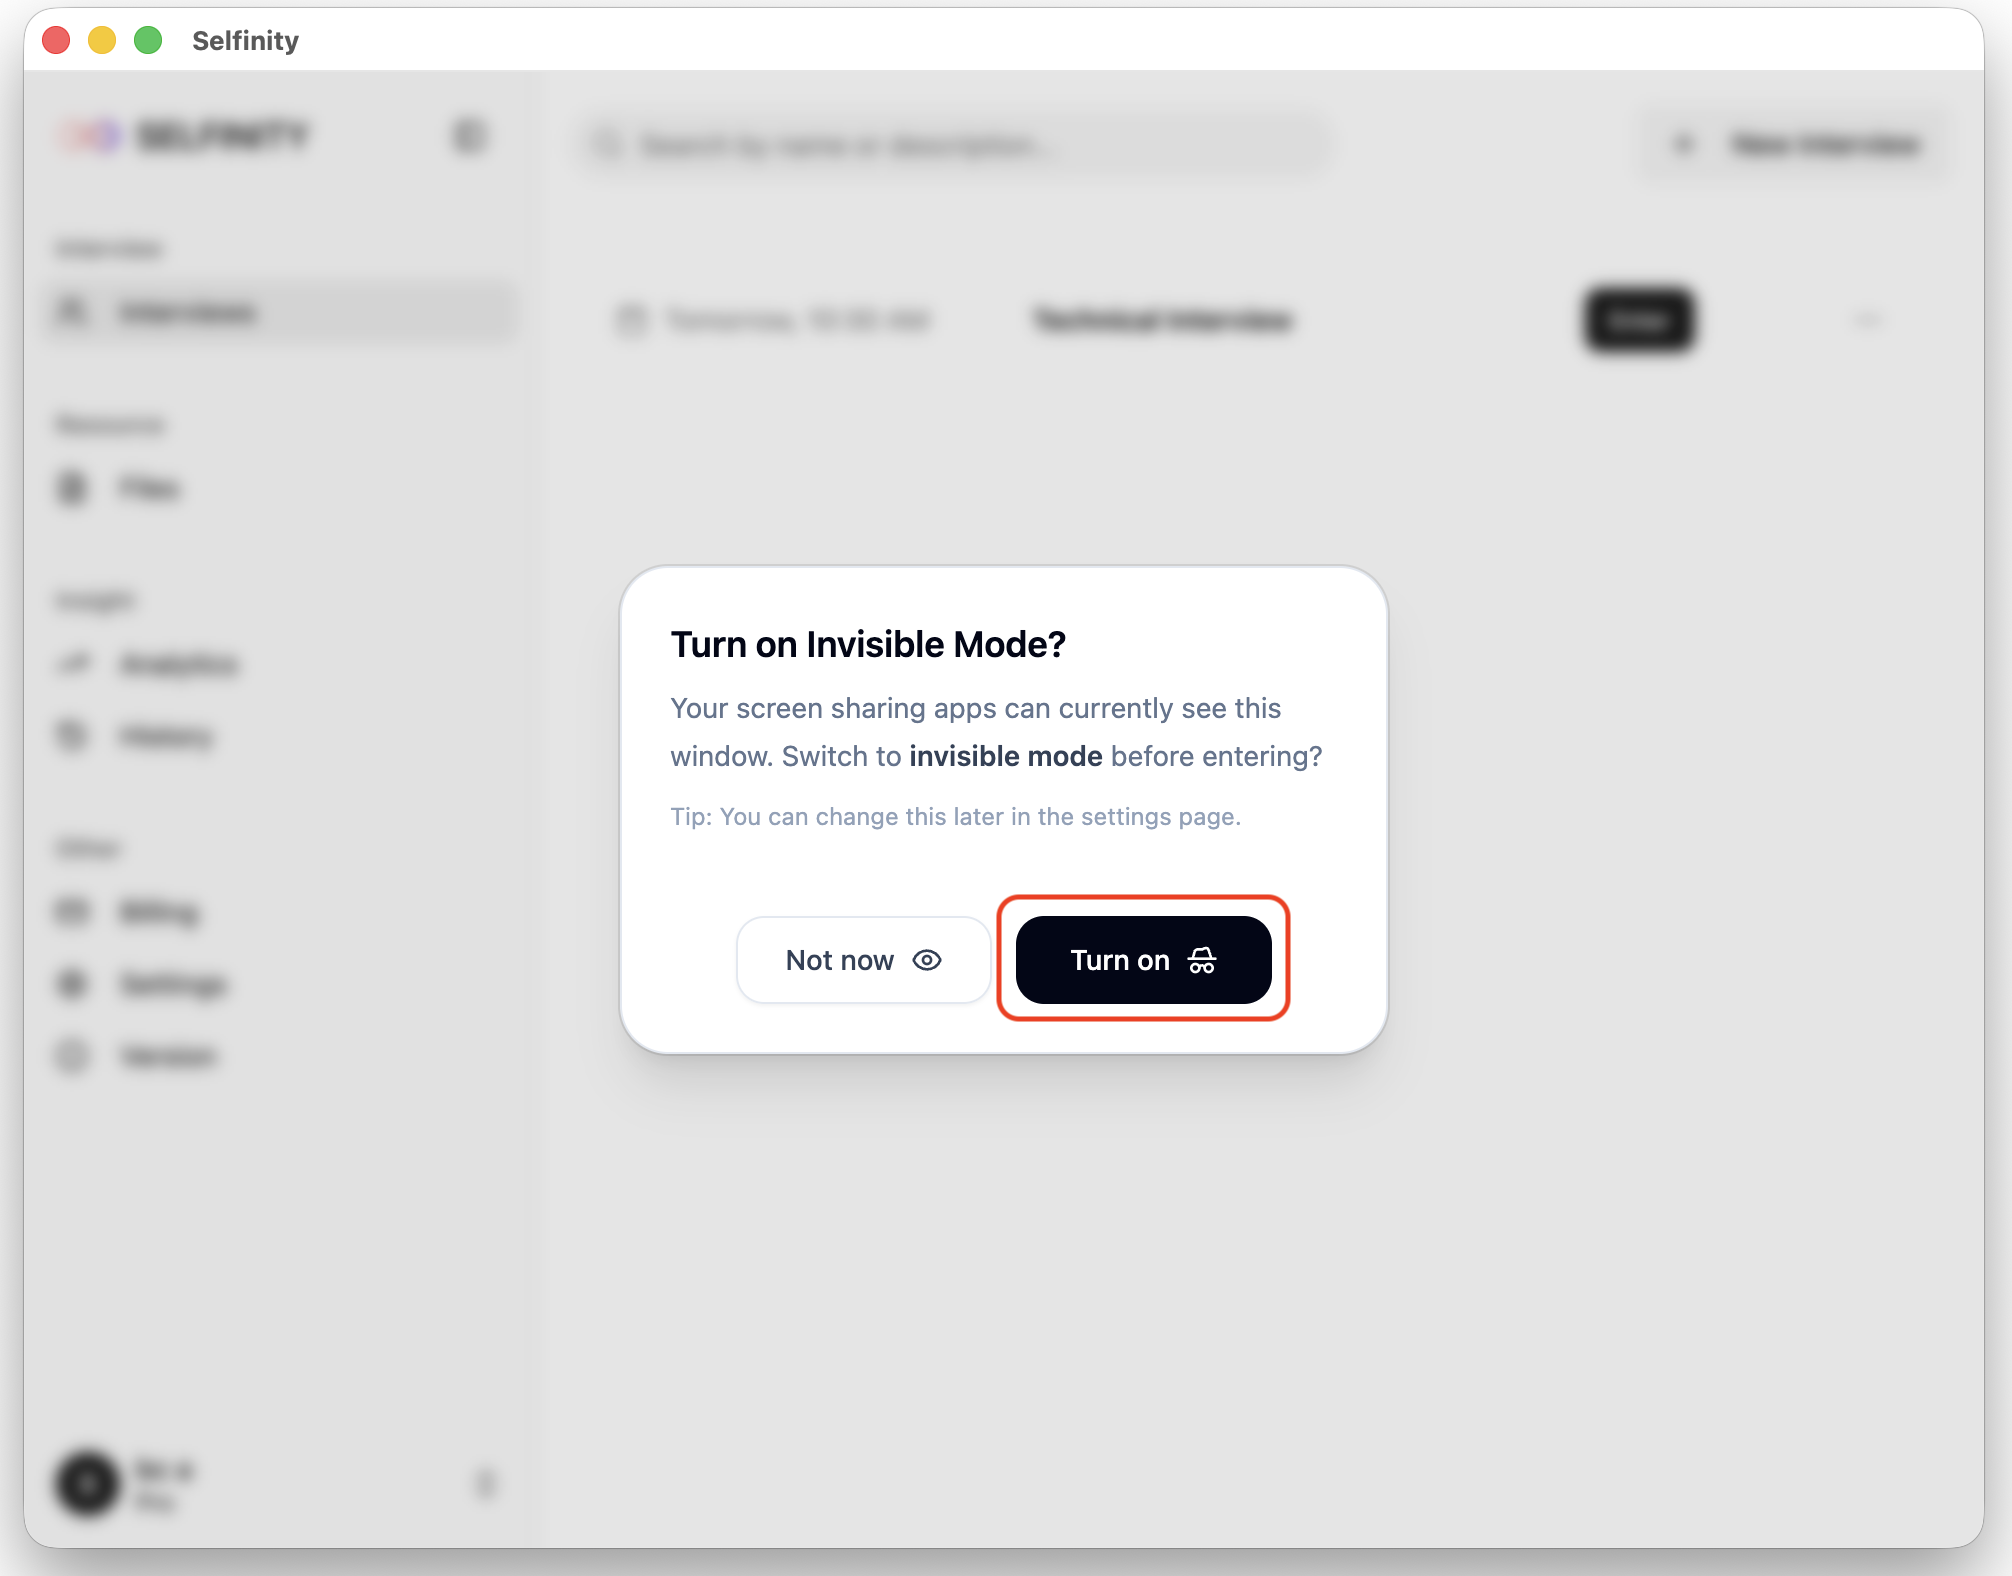
Your interview workspace opens.
-
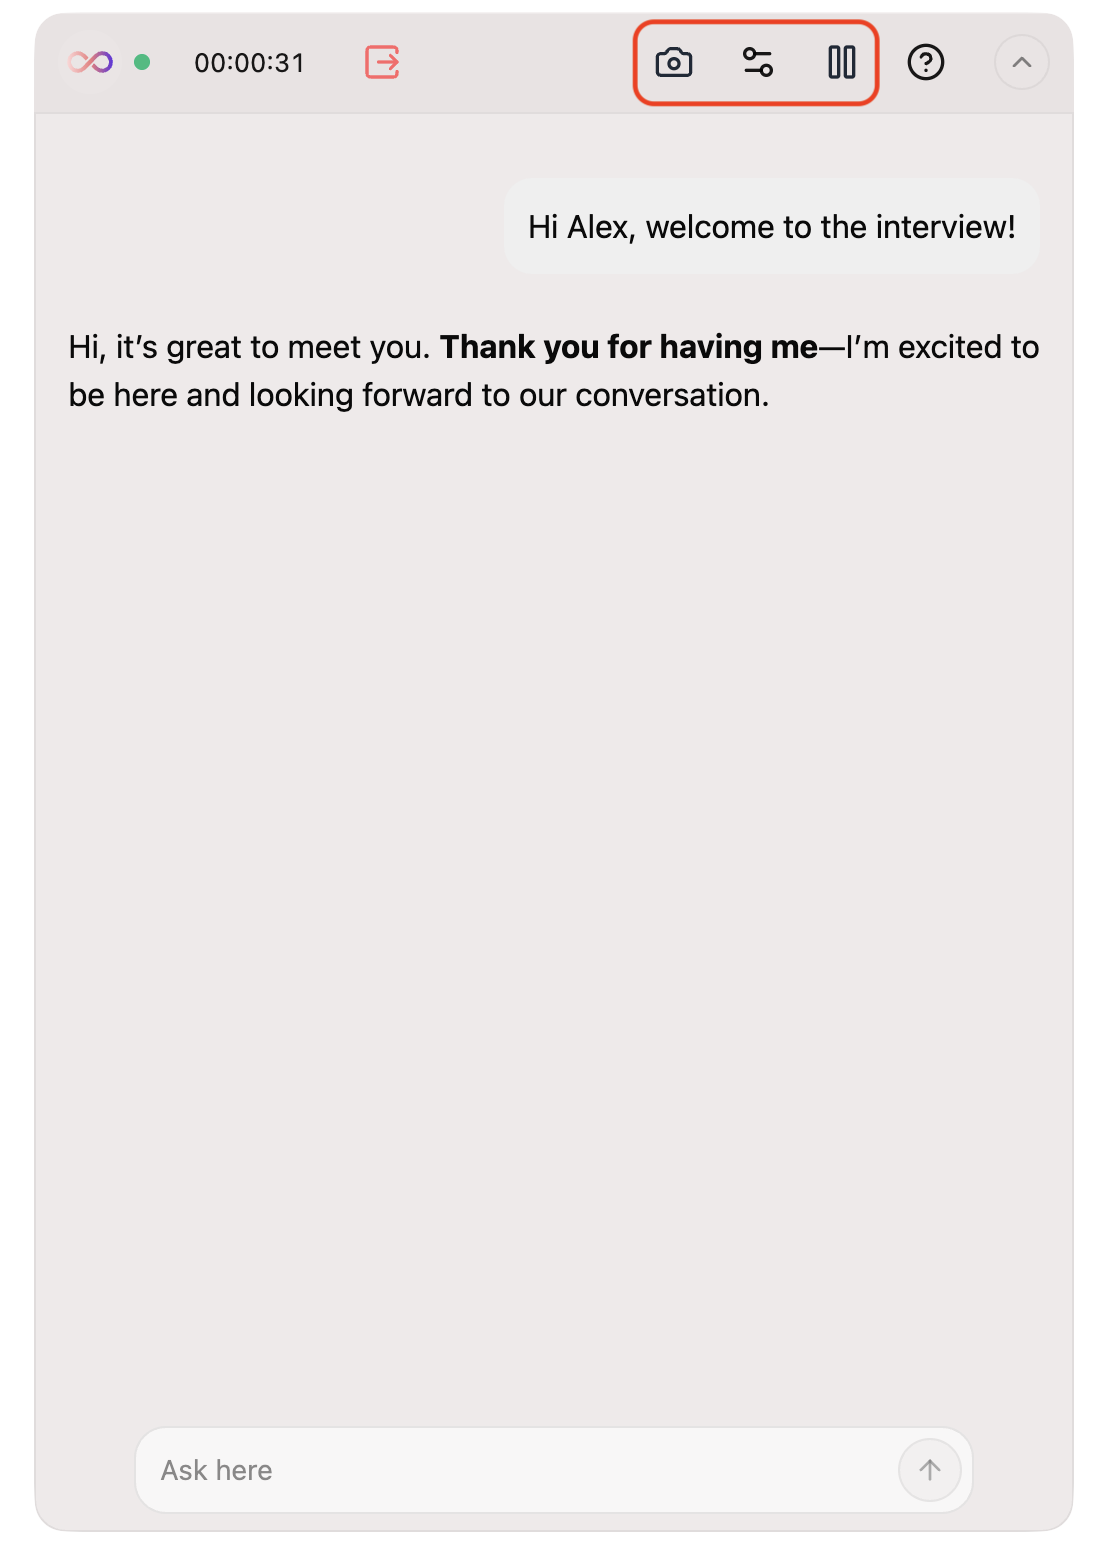
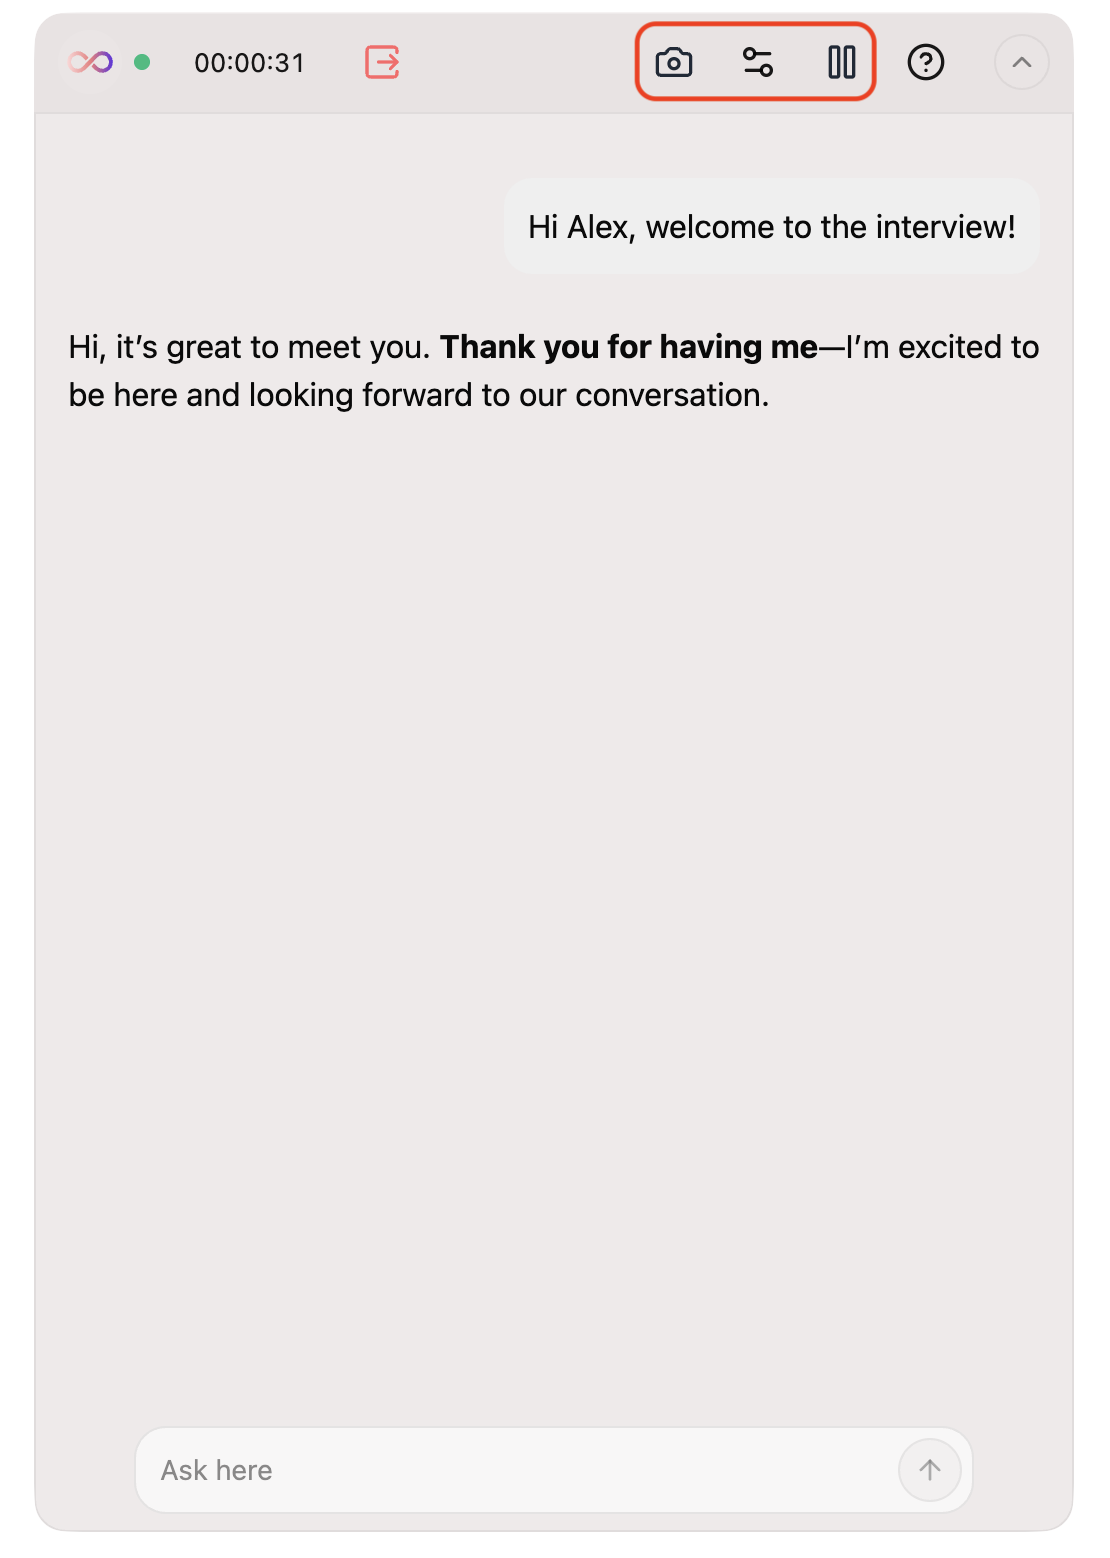
Selfinity stays in a floating window on top of your other apps.
-
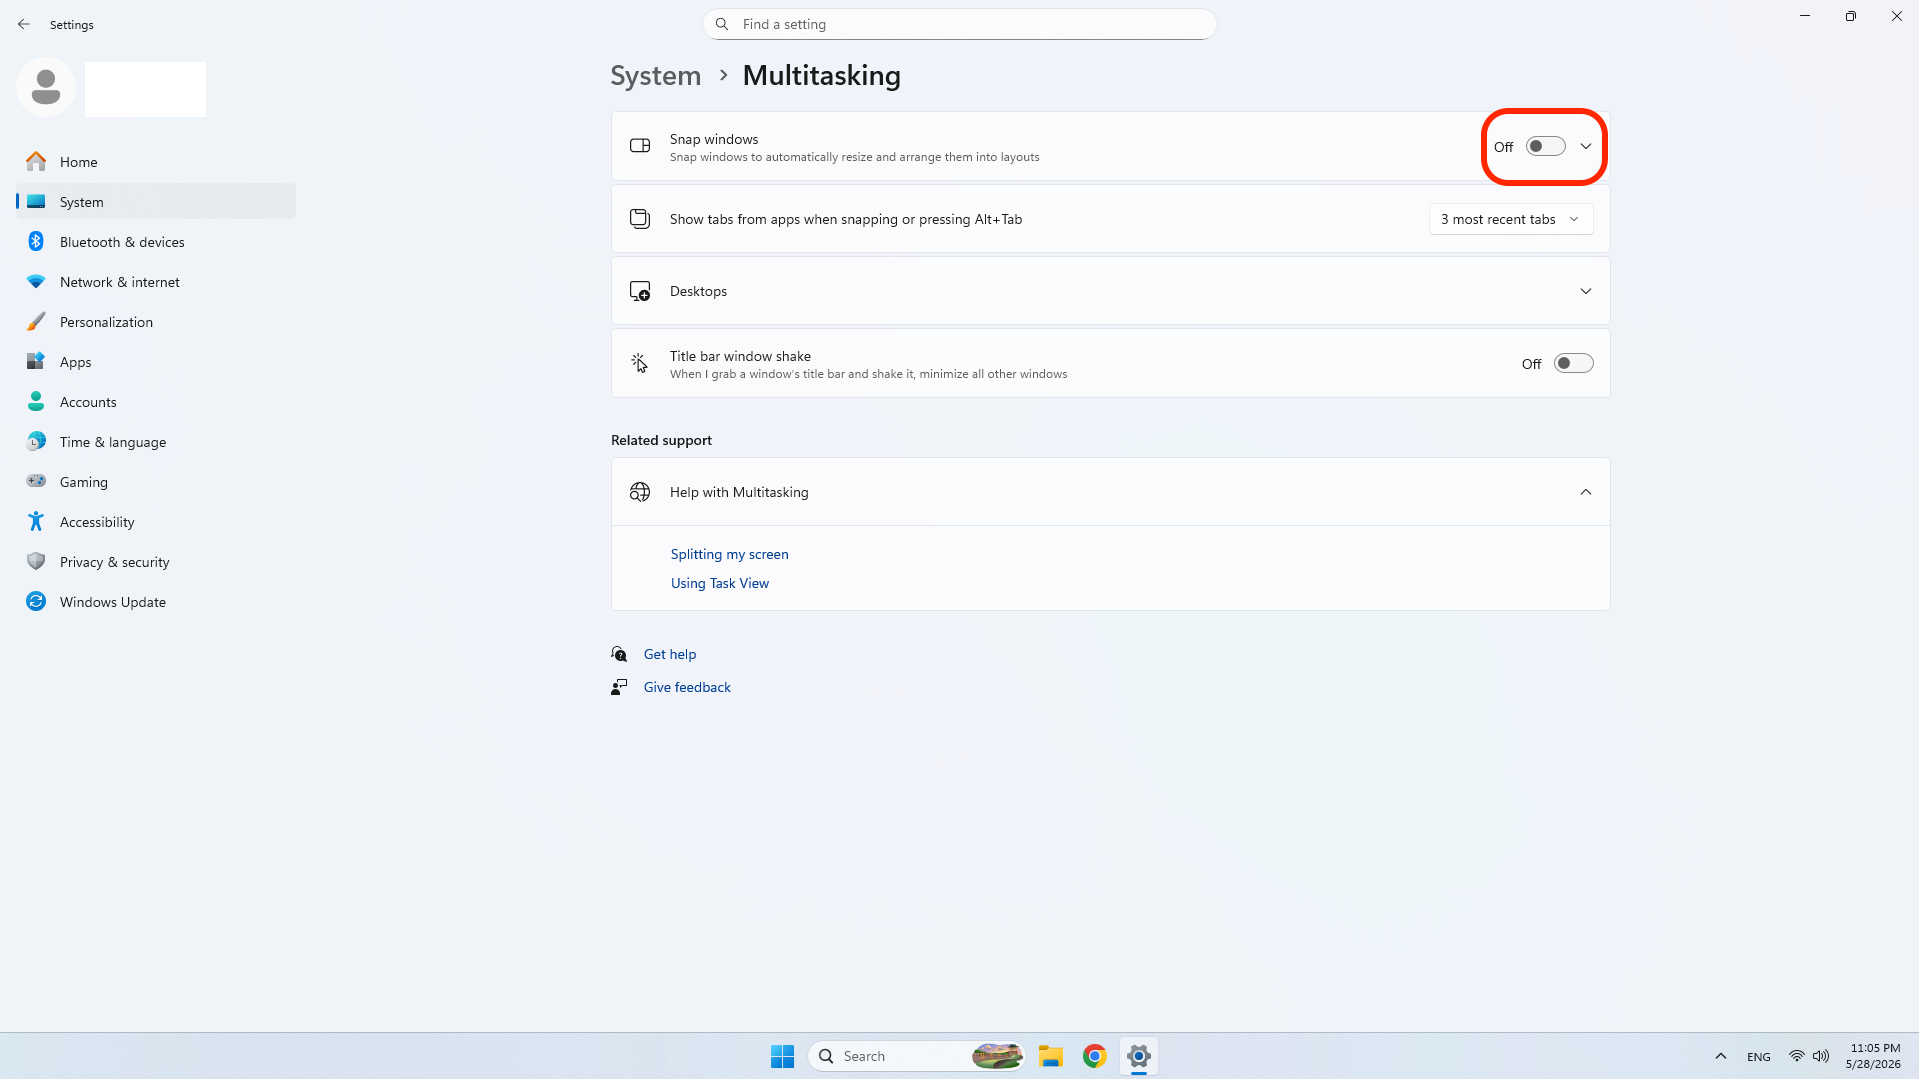
Turn off the multitasking setting shown below.
-
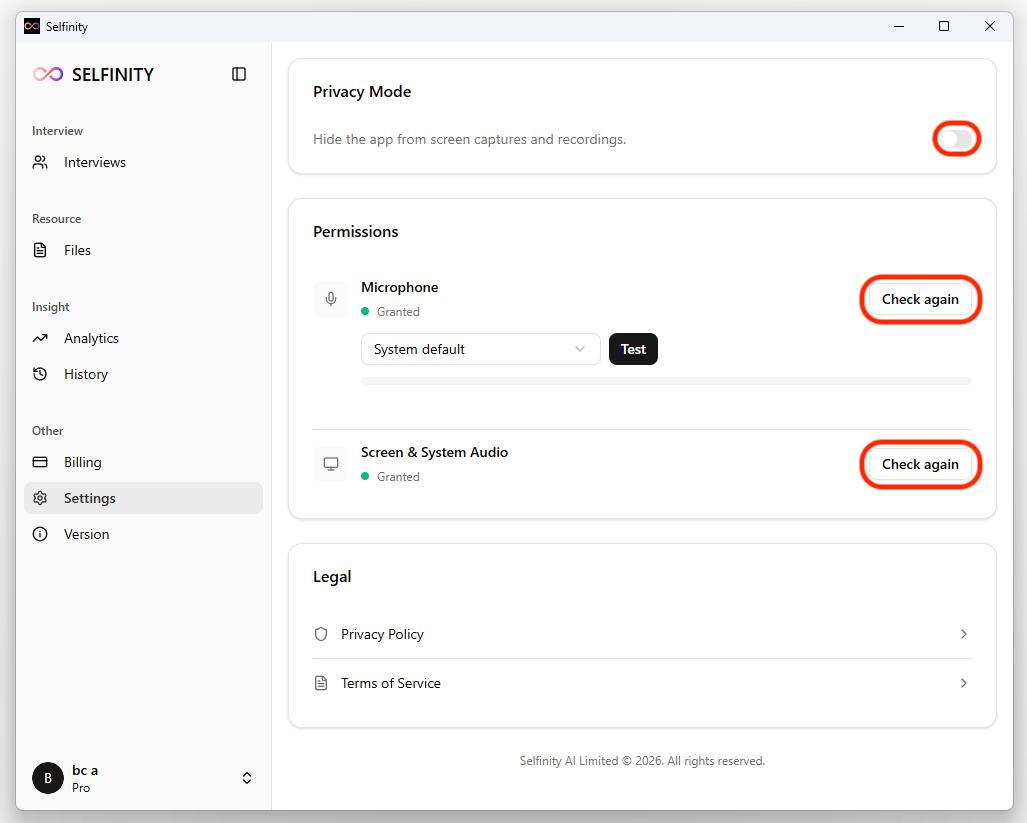
Open Settings and grant the requested permissions. Make sure you turn on "Privacy Mode".
-
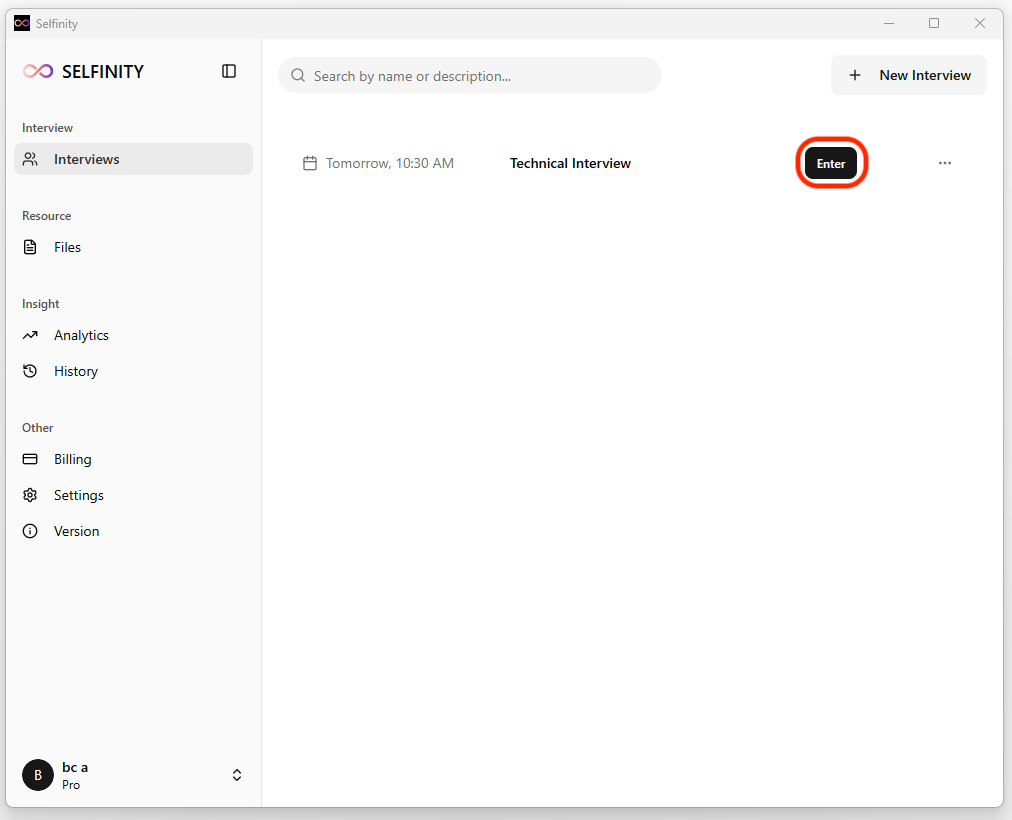
Click Enter to join the session.
-
Your interview workspace opens.
-
Selfinity stays in a floating window on top of your other apps.
Complete and review
-
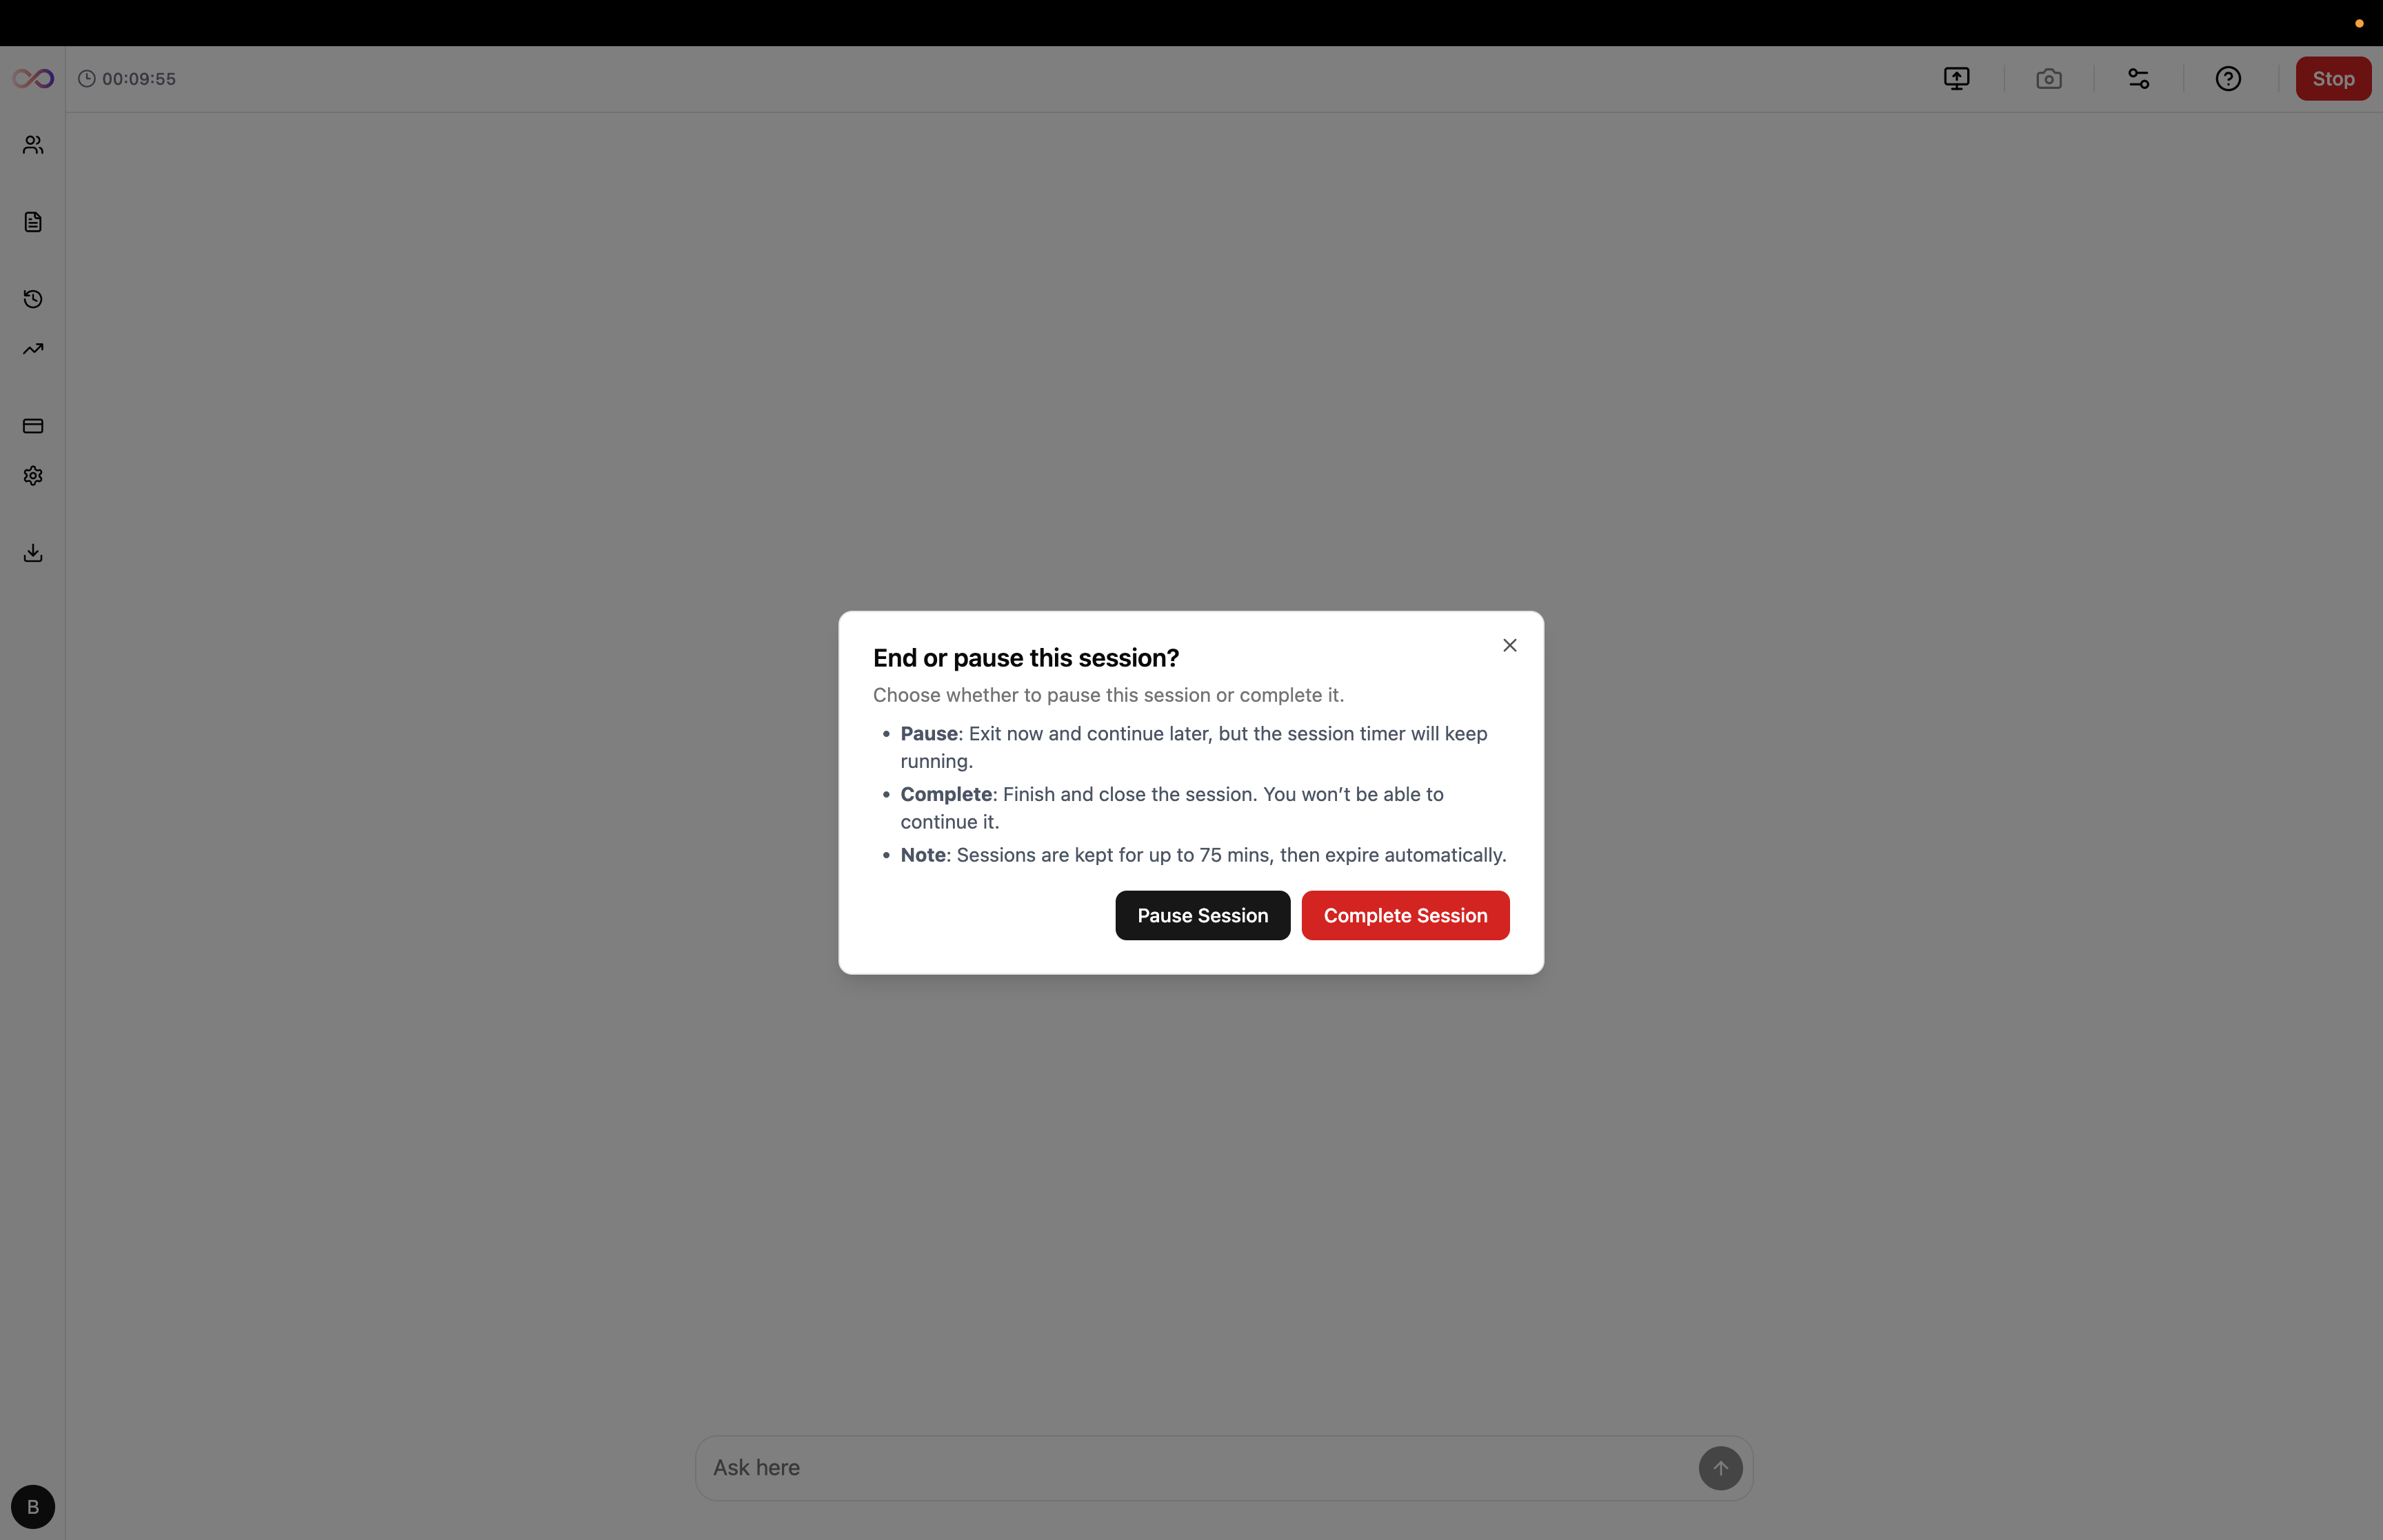
End the session to complete your interview.
-
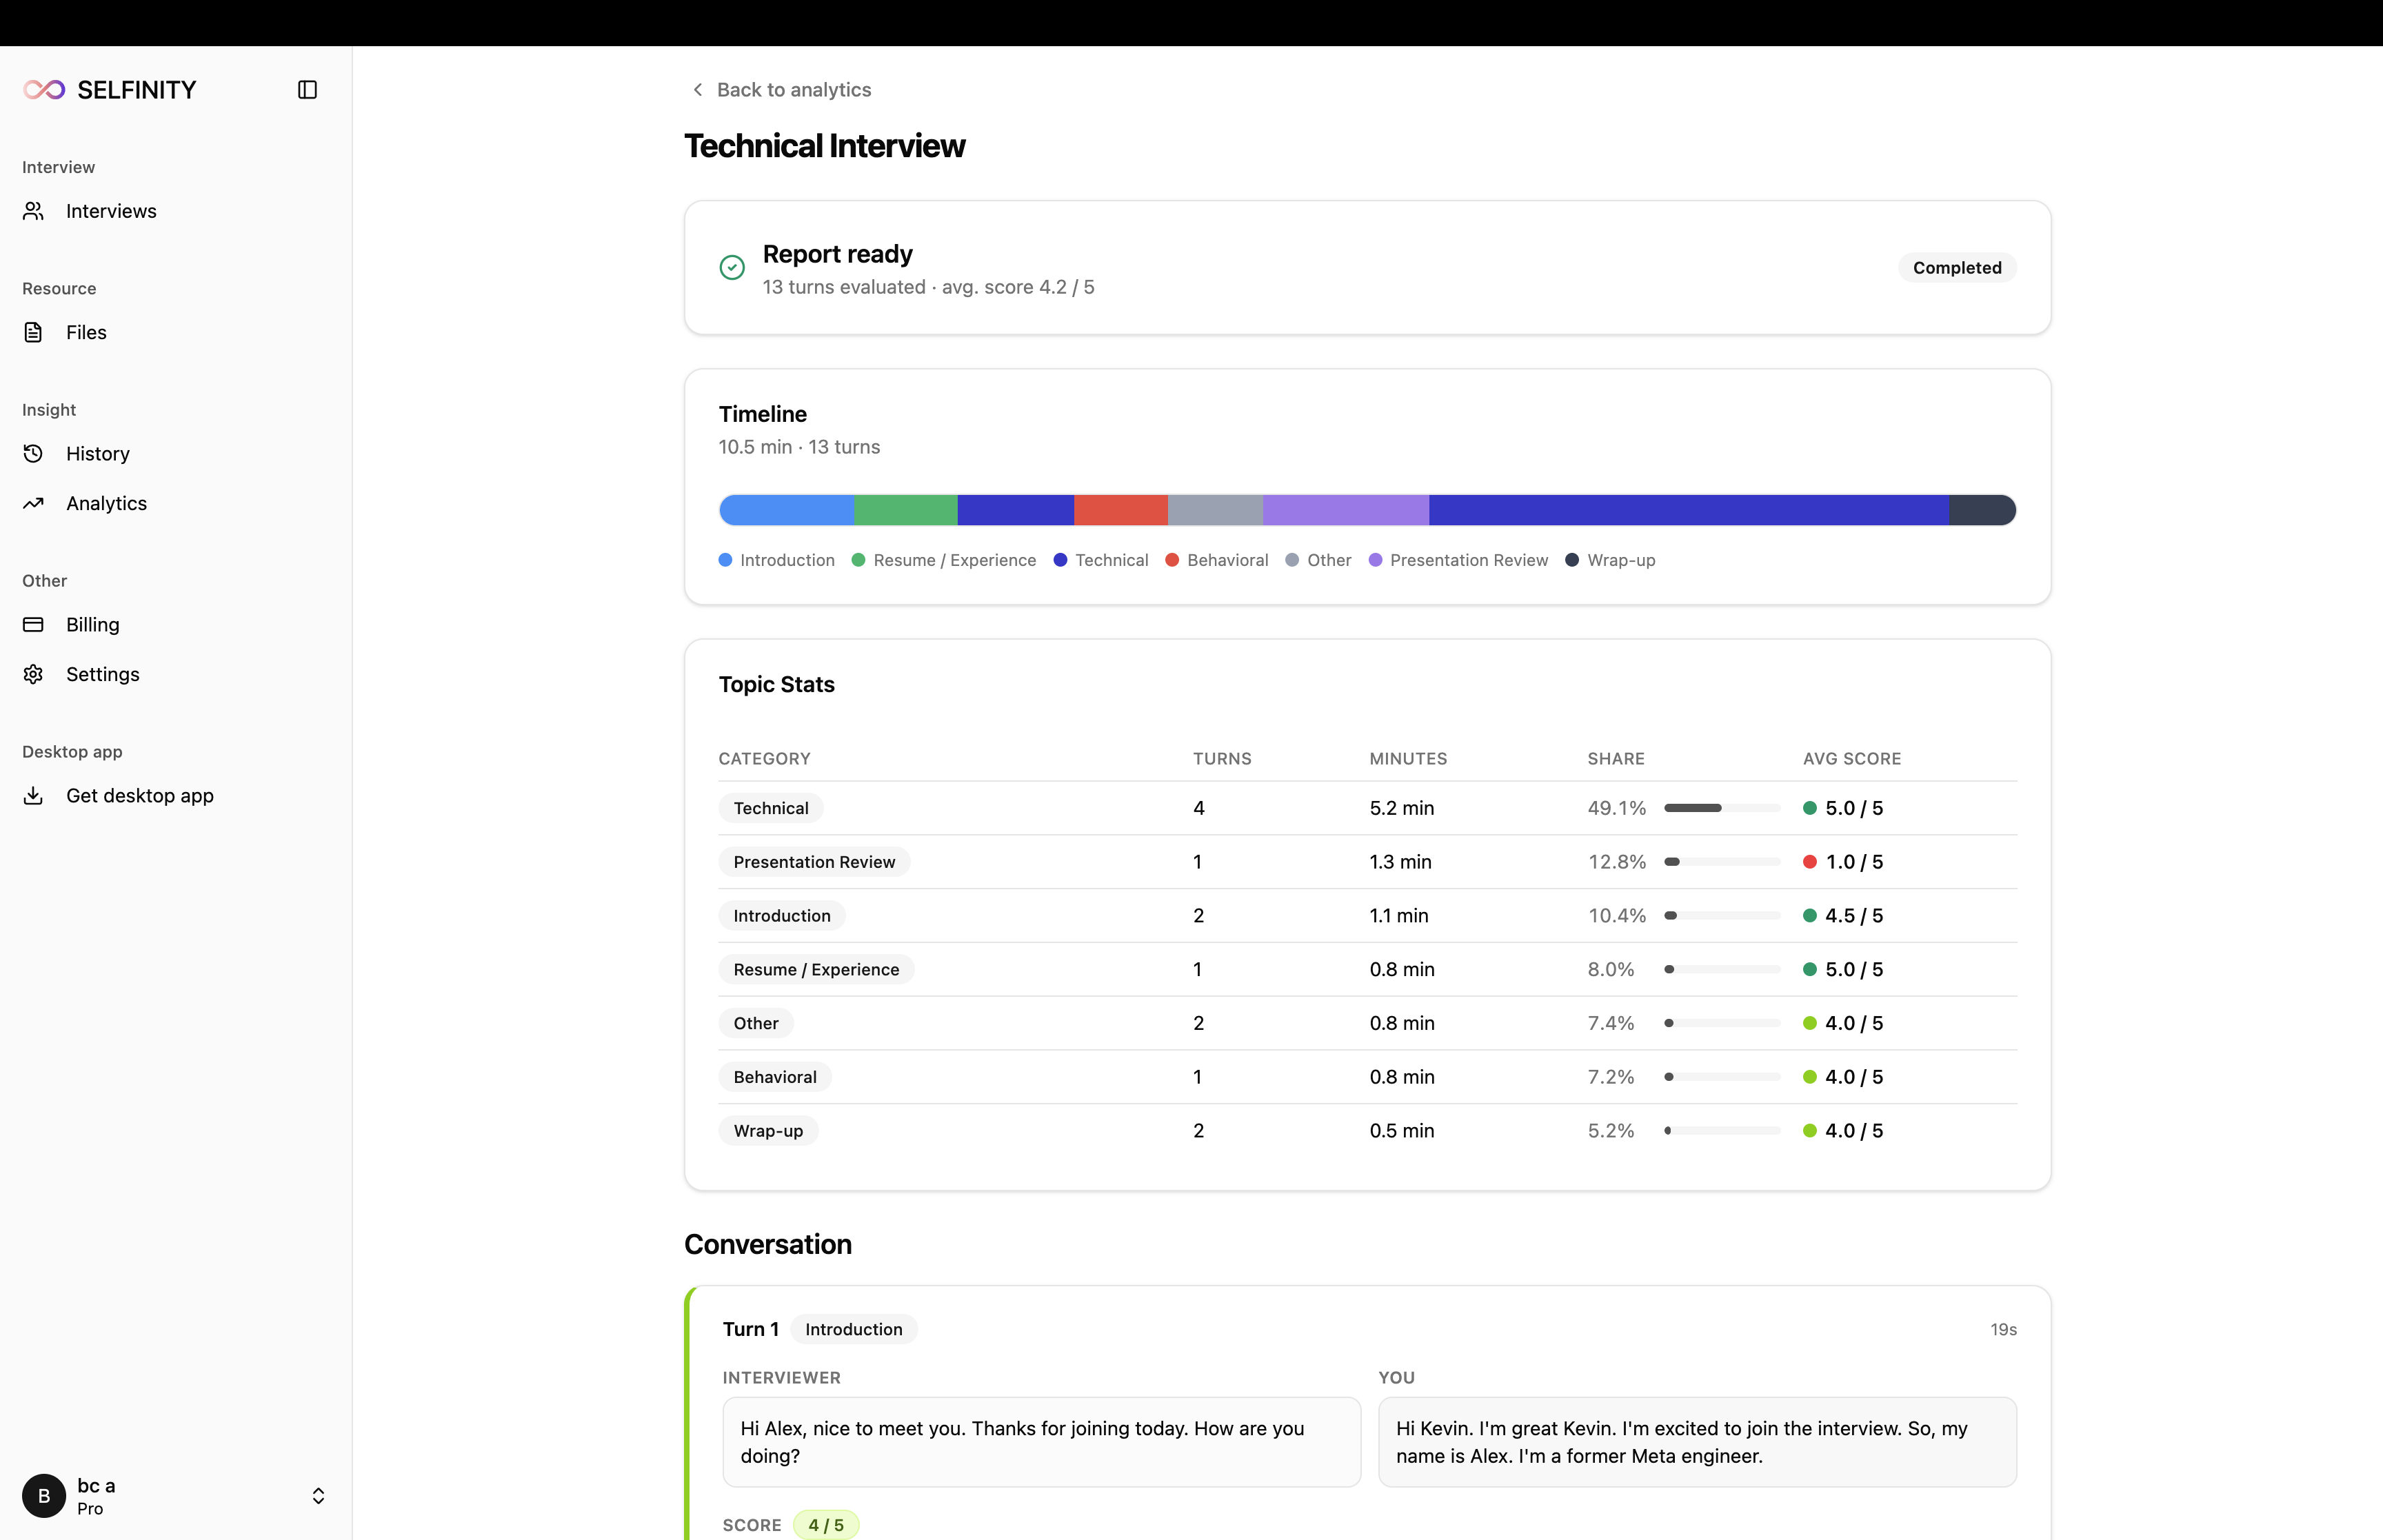
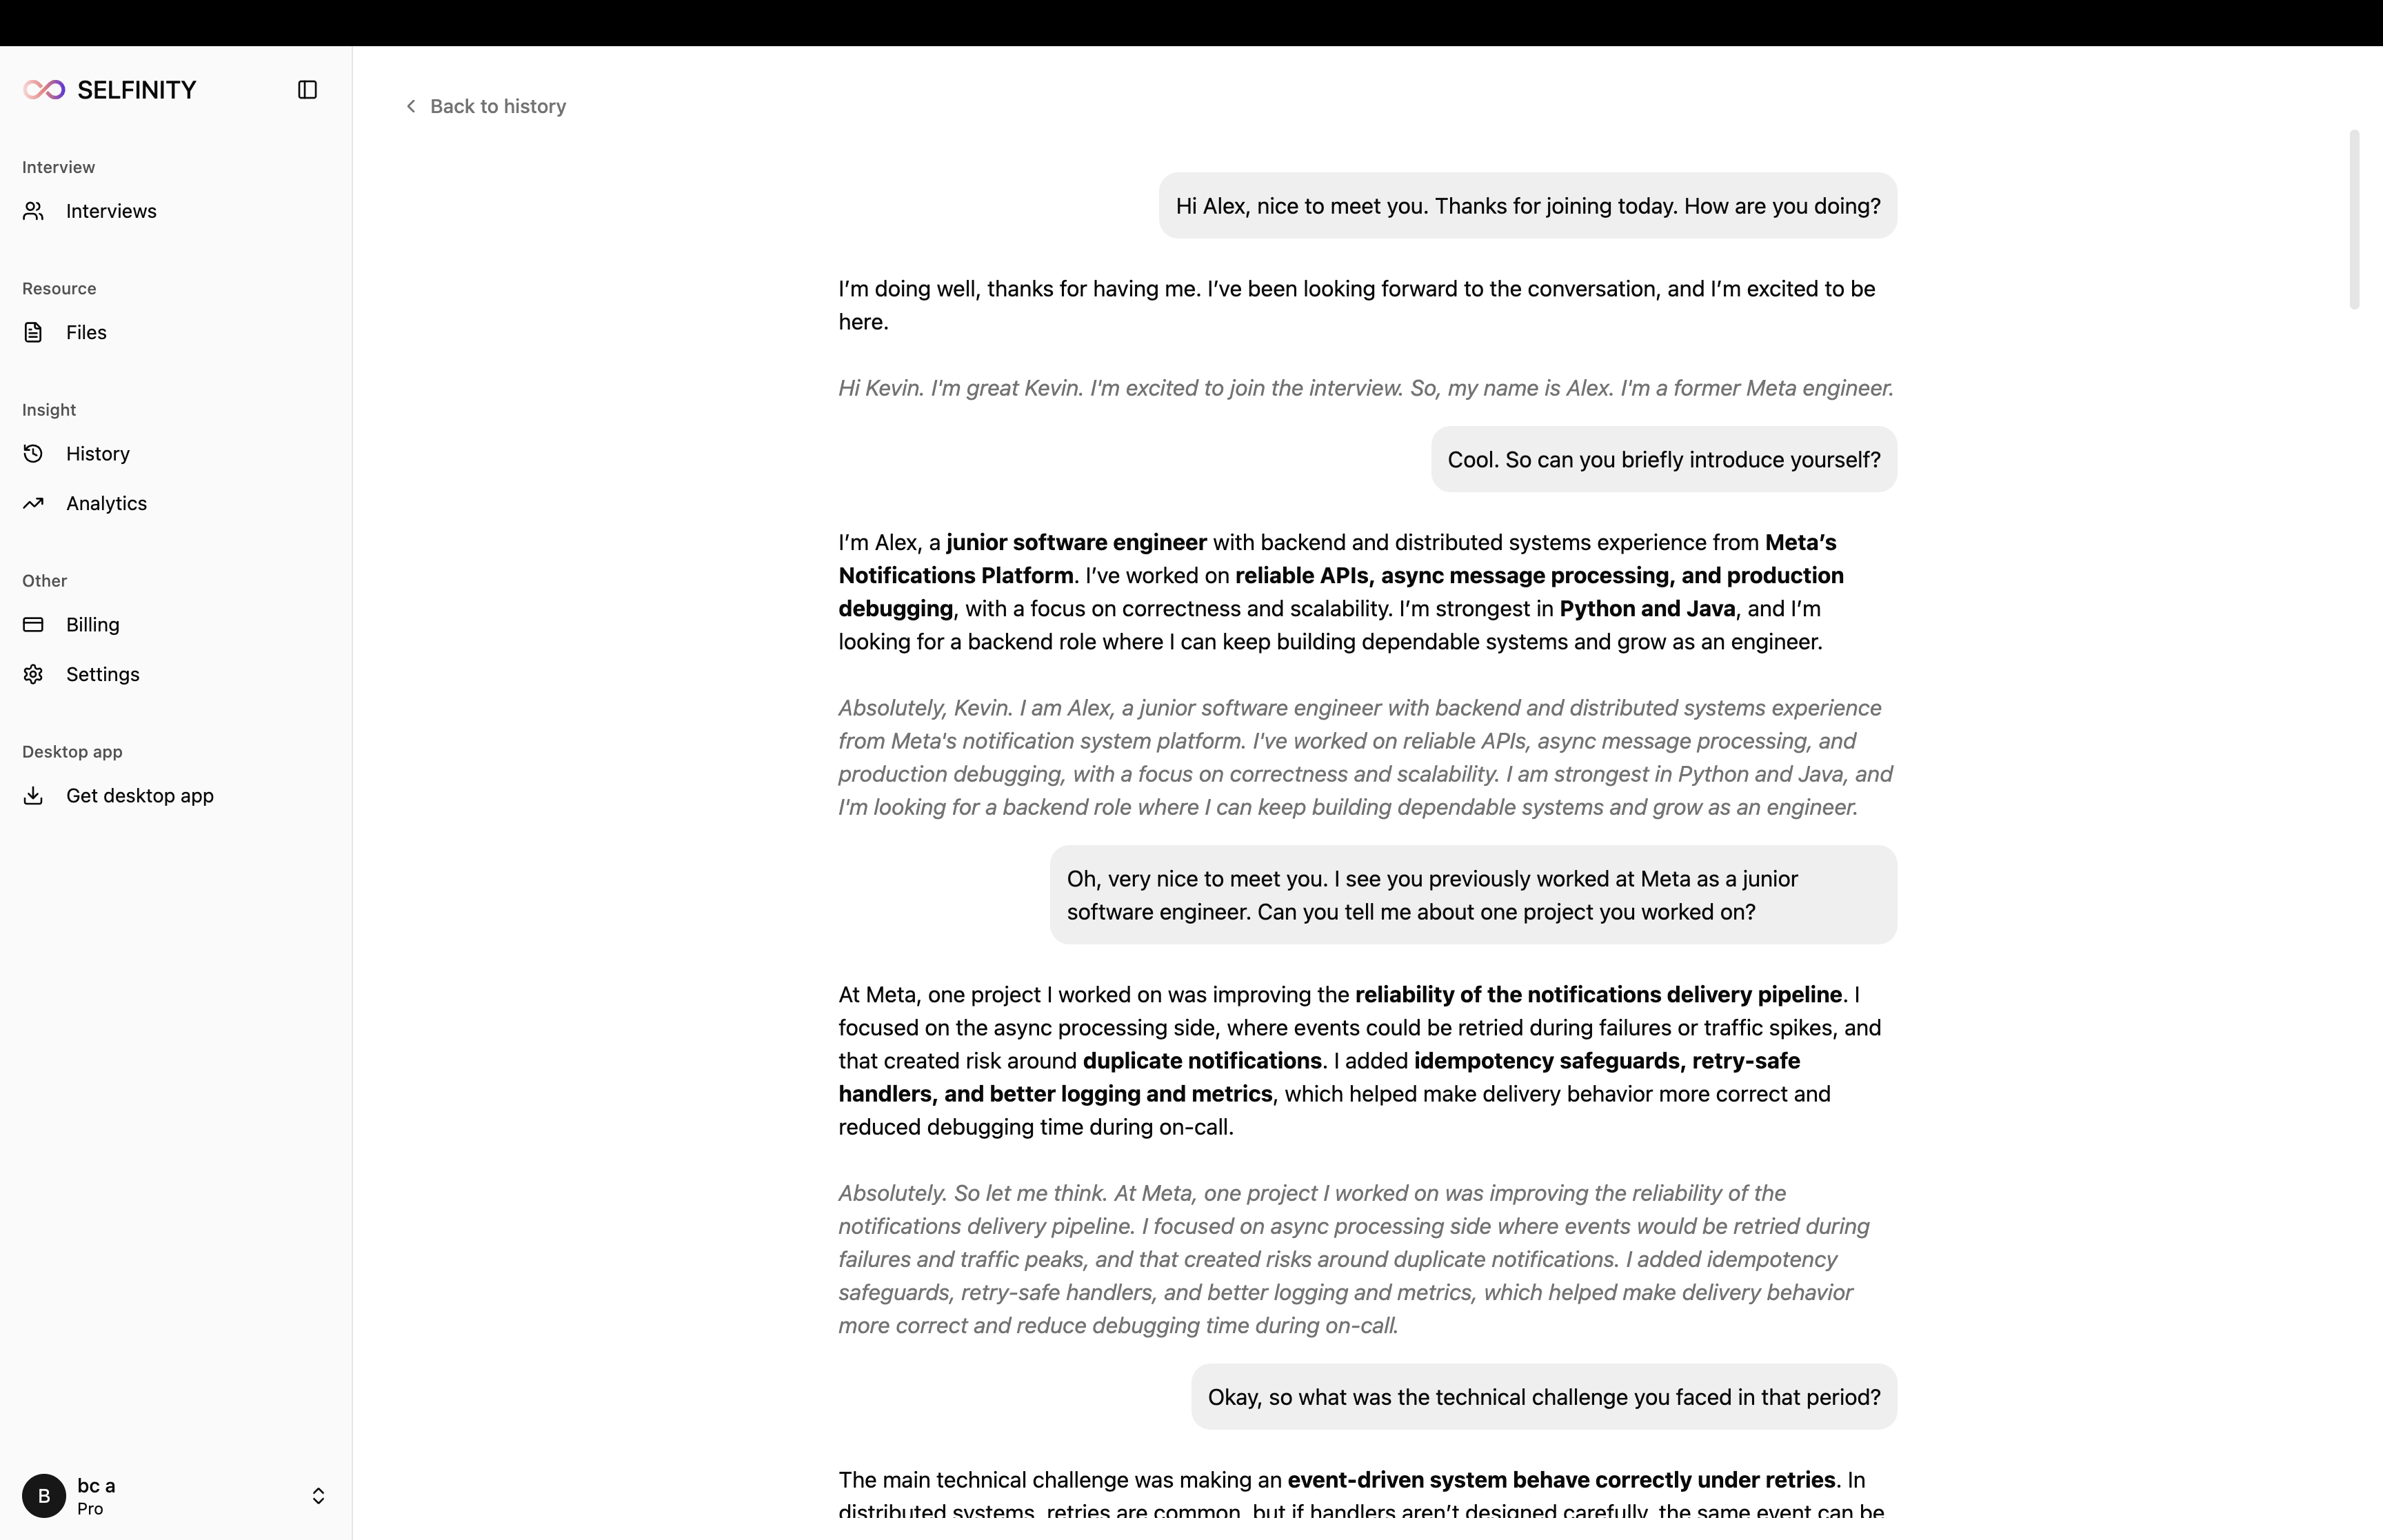
Find all your past sessions on the History page.
-
Open the Analysis to review feedback and insights.